 Pin this
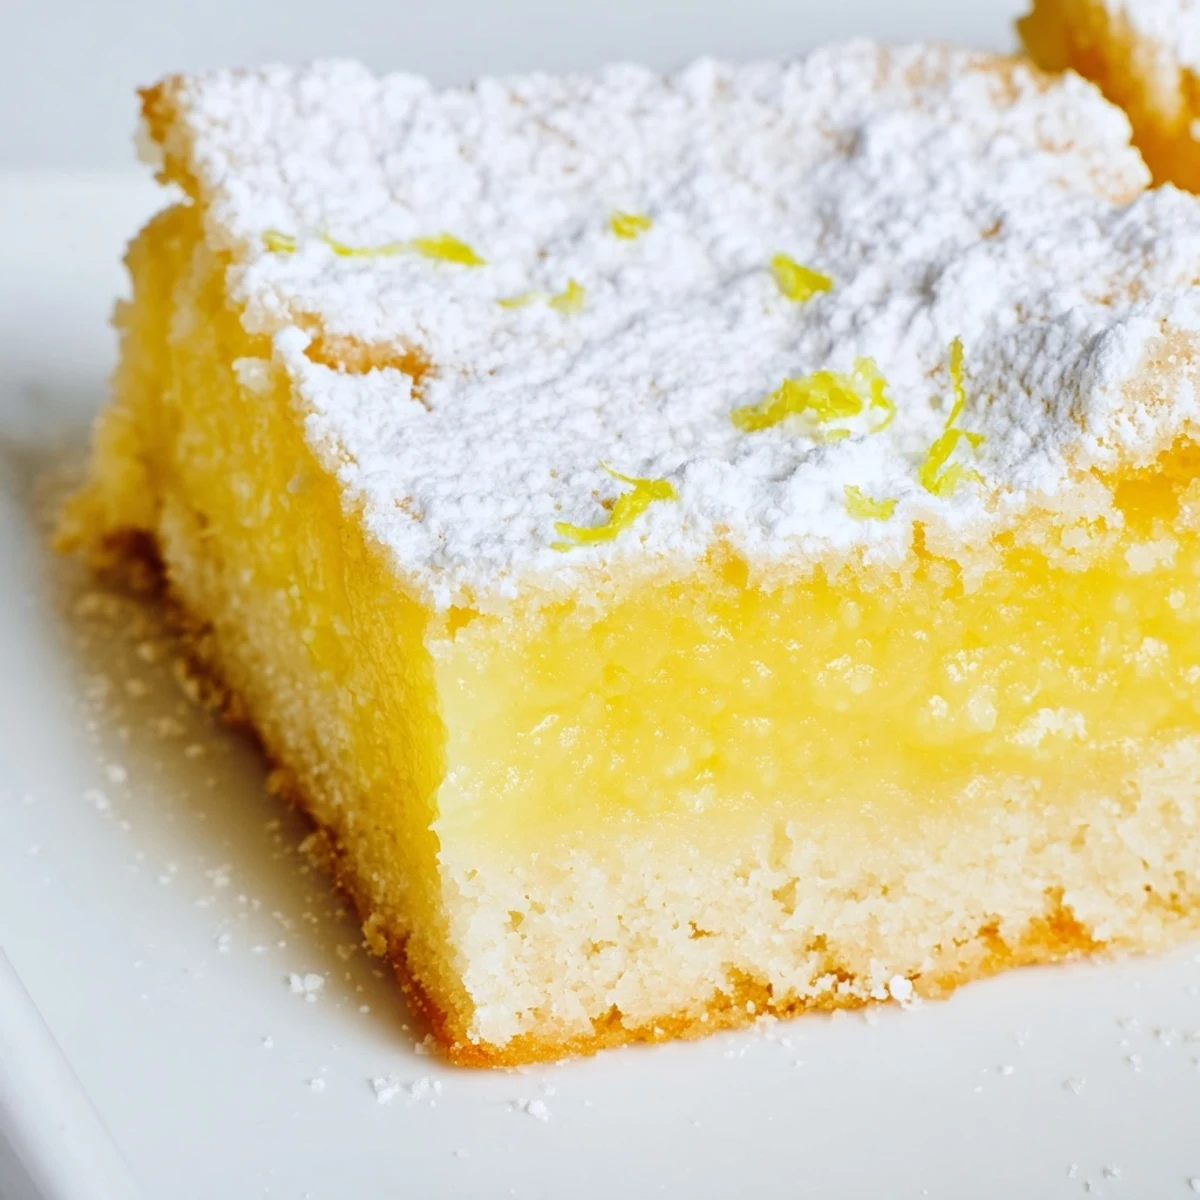
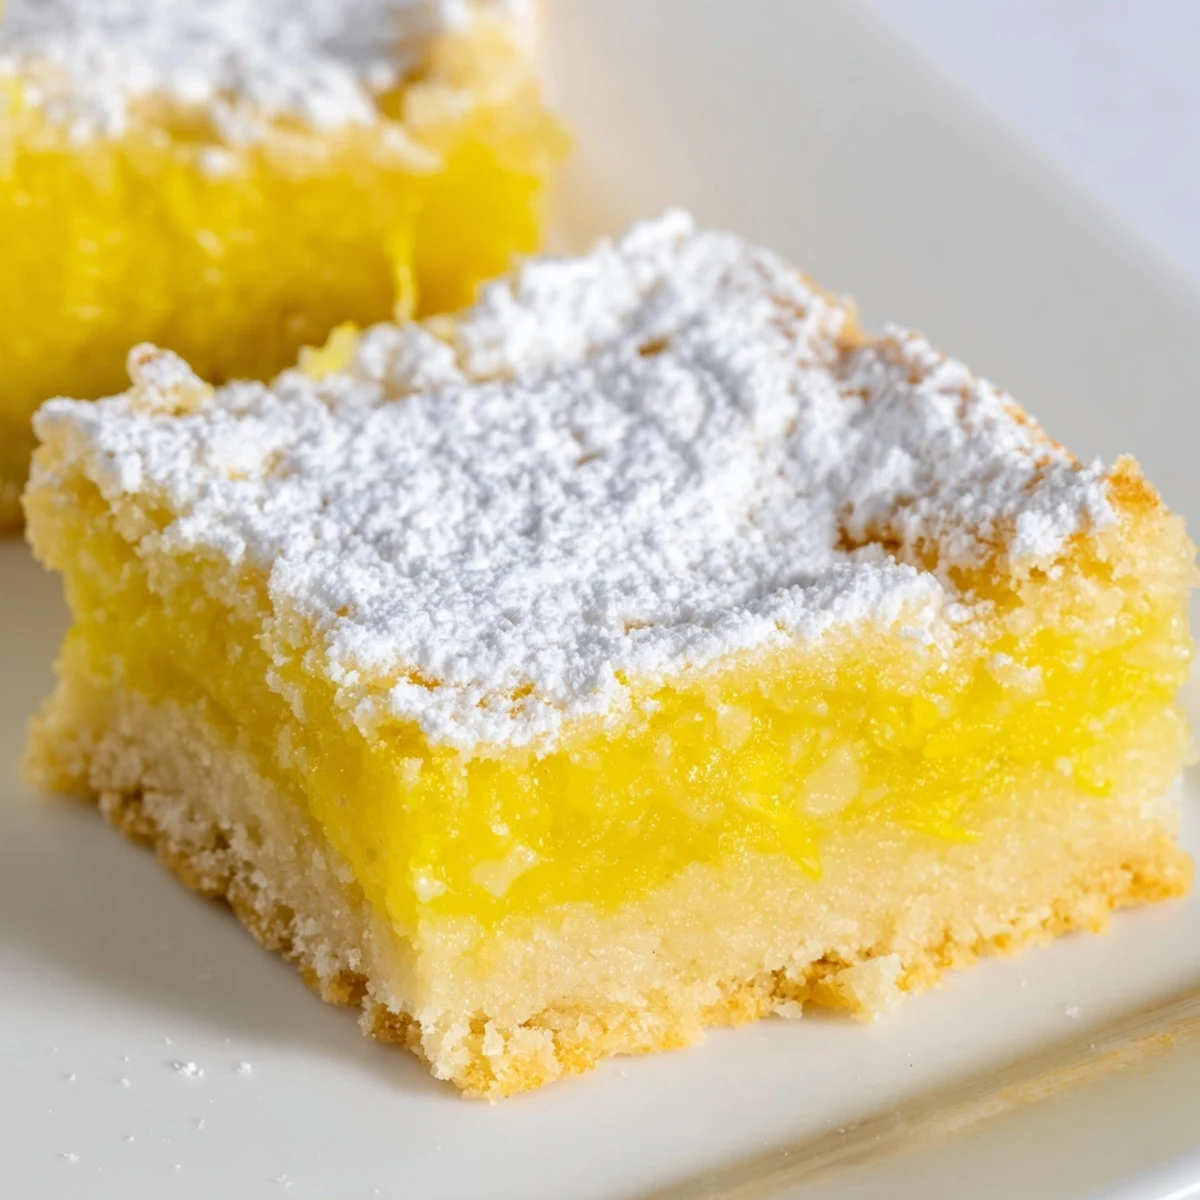
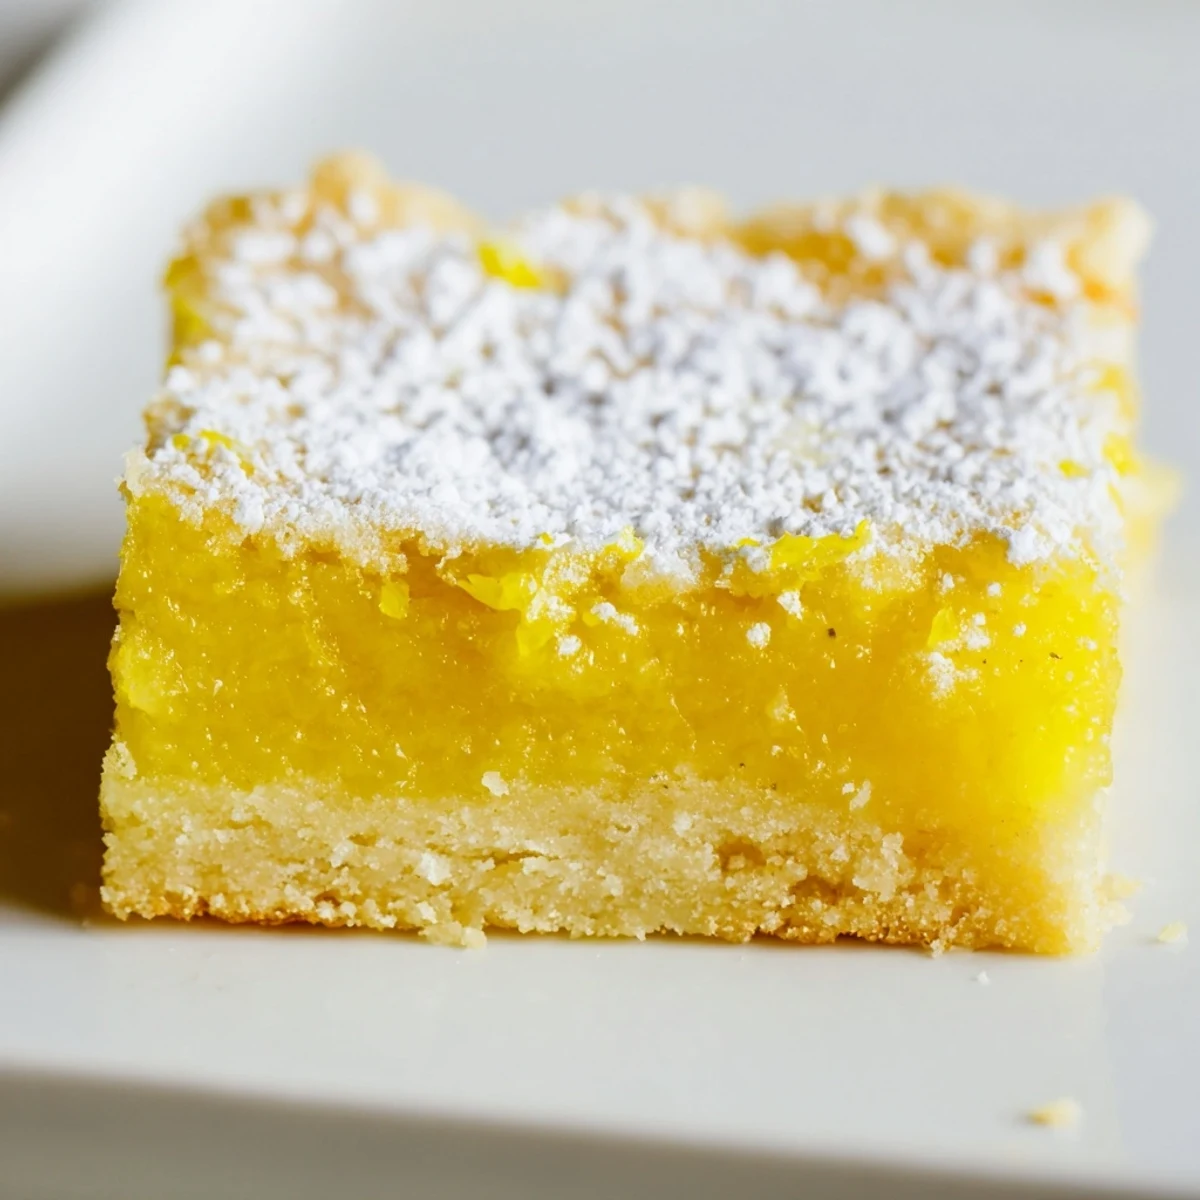
 These classic lemon bars combine a rich, buttery shortbread base with a bright, tangy lemon filling that sets to perfection. The contrast between the crumbly crust and silky citrus layer creates an irresistible dessert that's both refreshing and indulgent. Fresh lemon juice and zest provide the signature tang, while a generous dusting of powdered sugar adds the finishing touch.
Perfect for bake sales, potlucks, or afternoon tea, these bars come together with simple pantry staples and just 15 minutes of active preparation time. The dough requires no rolling—simply press it into your pan, par-bake, and pour on the vibrant filling.
Last summer, my neighbor brought over a bag of lemons from her tree, more than anyone could reasonably use. I spent the entire afternoon zesting and squeezing, the kitchen filling with that sharp citrus perfume that somehow makes everything feel cleaner and brighter. These lemon bars were the result, and they vanished from my counter faster than anything I've ever baked.
I made these for my sister's baby shower when I was running on three hours of sleep and questioning every life choice that led me to volunteer for dessert duty. Something about the bright yellow color and the smell of lemons made everything feel manageable again. She ate three before anyone else even got through the line.
Ingredients
- Unsalted butter: Softened to room temperature so it creams properly with the sugar, creating that tender shortbread texture
- Granulated sugar: Two separate amounts, one for the crust and one for the filling, each doing distinct work
- All-purpose flour: Most of it goes into the crust, but a quarter cup in the filling helps thicken the lemon layer
- Salt: Just a pinch to wake up the flavors in the crust
- Eggs: Room temperature eggs incorporate better into the filling and create that silky smooth texture
- Lemon juice: Freshly squeezed is absolutely required here, nothing else gives that bright punch
- Lemon zest: This is where all the lemon oil lives, and it makes all the difference between good and exceptional
- Powdered sugar: For that snow dusted finish that makes these look as good as they taste
Instructions
- Get your oven ready:
- Preheat to 350°F (175°C) and line a 9x13 inch pan with parchment paper, letting some hang over the sides like handles.
- Make the crust:
- Beat the softened butter and half cup sugar until it looks pale and fluffy, then mix in the flour and salt just until the dough comes together.
- Press and bake:
- Press the dough evenly into your pan and bake for 18 to 20 minutes until it's starting to turn golden at the edges.
- Whisk the filling:
- While the crust bakes, whisk together the sugar and flour, then add eggs, lemon juice, and zest until completely smooth.
- Pour immediately:
- Pour the lemon mixture over the hot crust the moment it comes out of the oven, this helps them bond together.
- Bake again:
- Return to the oven for another 18 to 20 minutes until the filling is set but still has a slight wobble in the center.
- Cool completely:
- Let them cool entirely in the pan, then lift them out using the parchment paper and slice into 16 squares.
- Finish with sugar:
- Dust generously with powdered sugar right before serving, creating that beautiful white cap over the bright yellow filling.
 Pin this
 My grandmother never baked with lemons, she was a chocolate woman through and through. The first time I made these for her, she took a tentative bite, eyes widened, and asked if I could teach her the recipe. Sometimes the people who surprise us the most are the ones we thought we knew best.
Choosing Your Lemons
Thin-skinned lemons give more juice and zest for your effort. Roll them firmly on your counter before cutting to break down the internal membranes and release every last drop. Meyer lemons work beautifully here if you can find them, they're sweeter and more floral than standard Eureka lemons.
Getting Clean Slices
Nothing ruins the presentation faster than jagged, messy cuts. Chill the bars completely first, then run your knife under hot water and wipe it dry between every single slice. The warm blade cuts through cleanly without dragging, giving you those perfect restaurant style edges.
Making Them Ahead
These lemon bars actually develop deeper flavor after a day in the refrigerator, the ingredients get to know each other better. You can make them up to three days ahead, though the powdered sugar will start to dissolve slightly after 24 hours, so wait to dust until just before serving.
- Add the powdered sugar right before serving for the freshest appearance
- Store them in the refrigerator rather than at room temperature
- They freeze beautifully for up to a month if you need to get ahead
 Pin this
 There's something honest about a dessert that's exactly what it promises to be, bright and tangy and unpretentious. Sometimes that's exactly what we need.
Recipe FAQs
- → How do I know when lemon bars are done baking?
-
The bars are ready when the filling is set but still slightly jiggly in the center, similar to cheesecake. The edges should be golden, and a toothpick inserted near the center should come out mostly clean with moist crumbs.
- → Why did my lemon bars turn out runny?
-
Runny bars usually indicate underbaking or incorrect flour ratios. Ensure you measure flour properly by spooning it into the measuring cup and leveling off. Also, let the bars cool completely at room temperature before chilling—rushing this step affects the texture.
- → Can I use bottled lemon juice instead of fresh?
-
Fresh lemon juice is highly recommended for the best flavor and acidity balance. Bottled juice can taste artificial and may lack the vibrant citrus notes that make these bars special. If necessary, use high-quality bottled juice, but expect slightly diminished flavor.
- → How should I store lemon bars?
-
Store in an airtight container in the refrigerator for up to 5 days. Place parchment paper between layers to prevent sticking. For longer storage, freeze individually wrapped bars for up to 3 months. Thaw in the refrigerator before serving.
- → Can I make lemon bars ahead of time?
-
Yes, these bars actually taste better after resting overnight in the refrigerator, which allows flavors to meld and the texture to firm up. Make them 1-2 days before your event, but wait to dust with powdered sugar until just before serving to prevent absorption.
- → What's the best way to get clean slices?
-
Chill the bars thoroughly—at least 4 hours or overnight. Use a sharp knife wiped clean between each cut. For extra precision, dip the knife in hot water and dry it before slicing. The parchment overhang makes lifting the entire batch out for easier cutting.