 Pin this
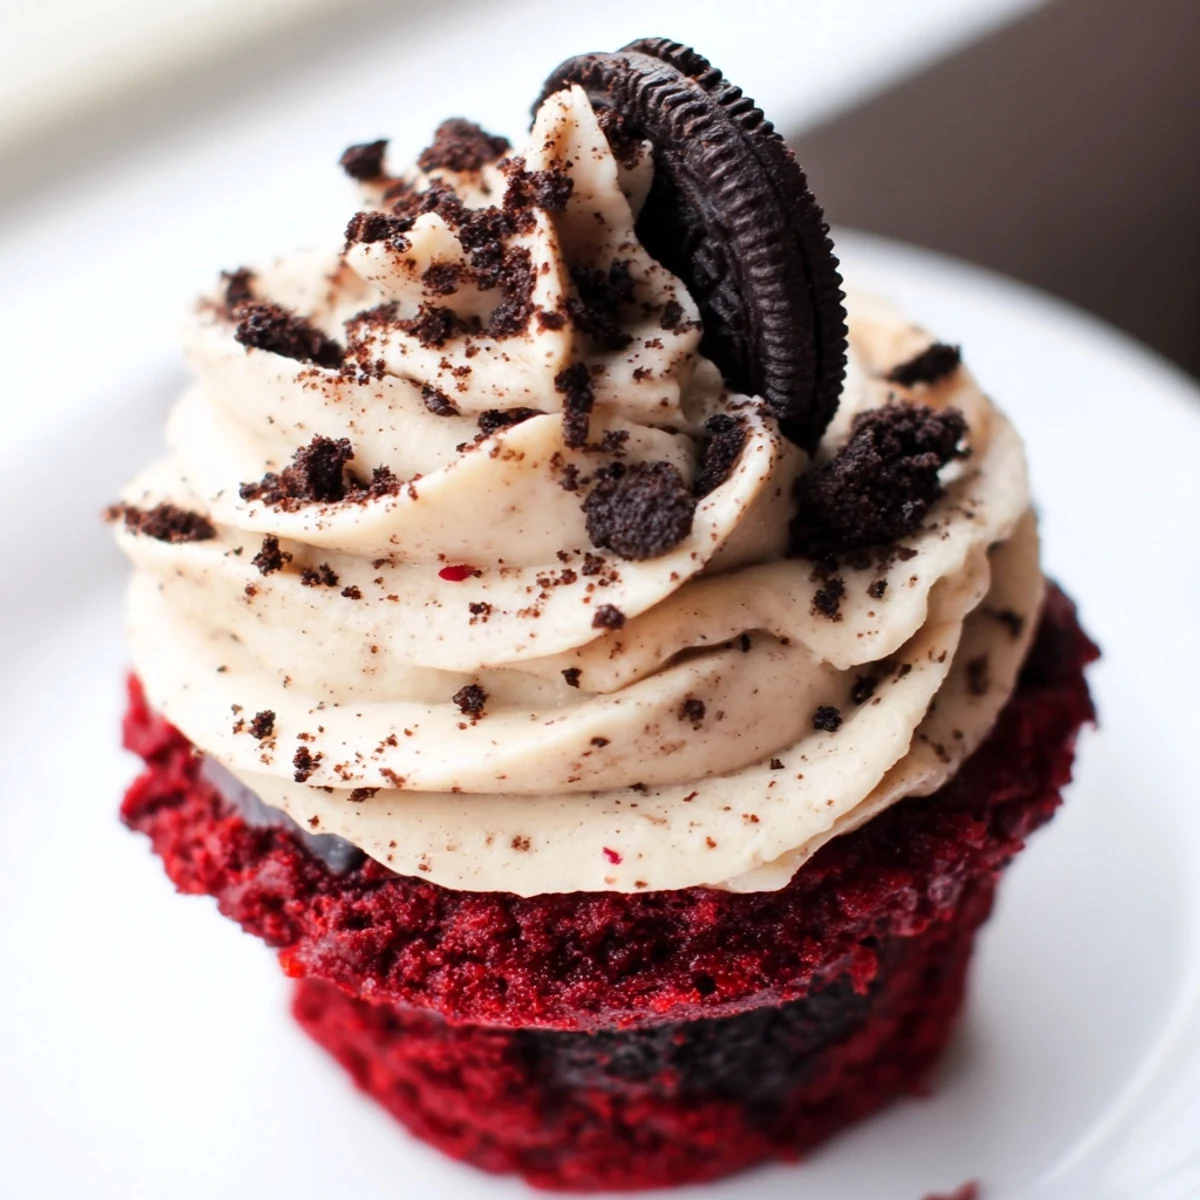
 These red velvet Oreo cupcakes combine a tender, cocoa-kissed red velvet batter with chunks of chocolate sandwich cookies baked right in. Topped with a luscious cream cheese frosting loaded with finely crushed Oreos, they deliver the perfect balance of tangy, sweet, and chocolaty in every bite.
Ready in just 40 minutes with a medium difficulty level, this American dessert yields 12 generously frosted cupcakes ideal for birthdays, holiday gatherings, or anytime you want to impress. The buttermilk and vinegar keep the crumb incredibly soft, while the gel food coloring gives that signature deep red hue.
The batter turned the most obscene shade of red I had ever seen in my kitchen, and honestly that is exactly why I kept making these. Red velvet always felt like a restaurant dessert to me until I realized how forgiving it actually is at home. Throwing Oreos into the mix was one of those late night decisions that should not have worked but absolutely did. Now friends request them for every birthday and potluck without fail.
I brought a batch of these to a coworking potluck once and watched a serious lawyer eat three of them while pretending to check his phone. Something about the combination of nostalgic red velvet and cookies and cream makes people lose their composure in the best way.
Ingredients
- All purpose flour (1 1/4 cups): Measuring by weight if you can makes the crumb softer and more consistent.
- Unsweetened cocoa powder (3 tbsp): Just enough to give a whisper of chocolate without turning these into chocolate cupcakes.
- Baking soda (1/2 tsp): Works with the vinegar to give lift and keep things tender.
- Salt (1/4 tsp): A small amount rounds out sweetness and enhances the cocoa.
- Vegetable oil (1/2 cup): Oil keeps cupcakes moister than butter would, especially on the second day.
- Granulated sugar (3/4 cup): Not overly sweet since the frosting brings plenty of sugar too.
- Large egg (1, room temperature): Let it sit out for twenty minutes so it blends smoothly into the batter.
- Buttermilk (1/2 cup, room temperature): The acidity tenderizes the crumb and adds a subtle tang that defines red velvet.
- Red food coloring gel (1 tbsp): Gel is far more concentrated than liquid so you get bold color without ruining the texture.
- Pure vanilla extract (1 tsp): Use the real stuff here because you will taste the difference.
- Distilled white vinegar (1/2 tsp): Reacts with baking soda for a lighter, fluffier cake.
- Oreo cookies (10, roughly chopped for batter): Rough chunks give the best texture contrast.
- Unsalted butter (1/2 cup, softened for frosting): Softened means you can press it gently with your finger and leave a small dent.
- Cream cheese (8 oz, softened for frosting): Full fat cream cheese makes the richest frosting you will ever taste.
- Powdered sugar (2 cups, sifted for frosting): Sifting prevents those awful lumps that ruin a smooth pipe.
- Pure vanilla extract (1 tsp for frosting): A second teaspoon in the frosting layers the flavor beautifully.
- Oreo cookies (6, finely crushed for frosting): Crushed fine enough that it pipes easily but still shows dark specks.
Instructions
- Set up your oven and pan:
- Preheat to 350°F and line a twelve cup muffin tin with paper liners so nothing sticks.
- Whisk the dry ingredients:
- In a medium bowl, combine the flour, cocoa powder, baking soda, and salt with a whisk until evenly blended.
- Bring the wet ingredients together:
- In a large bowl, beat the oil and sugar, then pour in the egg, buttermilk, red gel coloring, vanilla, and vinegar, mixing until the color is uniform and gorgeous.
- Marry the two mixtures:
- Add the dry ingredients to the wet in two additions, stirring gently each time and stopping as soon as you see no dry flour streaks.
- Fold in the Oreo pieces:
- Use a spatula to gently fold the chopped cookies through the batter so the chunks stay intact.
- Fill the liners:
- Divide the batter evenly among the liners, filling each about two thirds full to leave room for rising.
- Bake and cool:
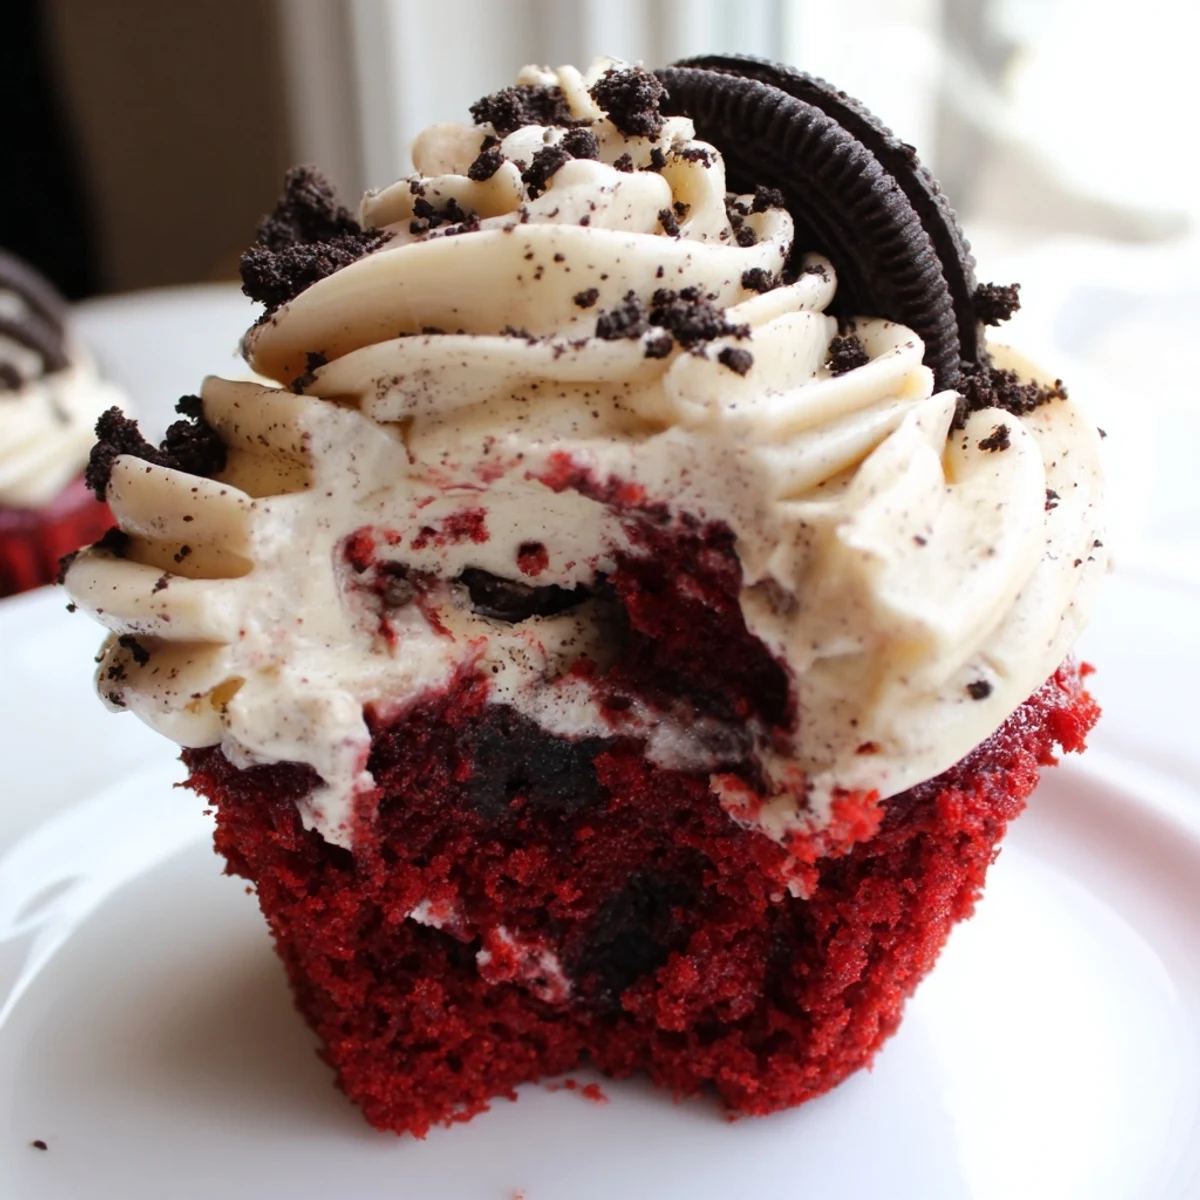
- Bake for eighteen to twenty minutes until a toothpick in the center comes out clean, then rest them in the pan five minutes before moving to a wire rack.
- Make the frosting:
- Beat the softened butter and cream cheese until silky, then add sifted powdered sugar and vanilla, beating until fluffy before folding in the finely crushed Oreos.
- Frost and finish:
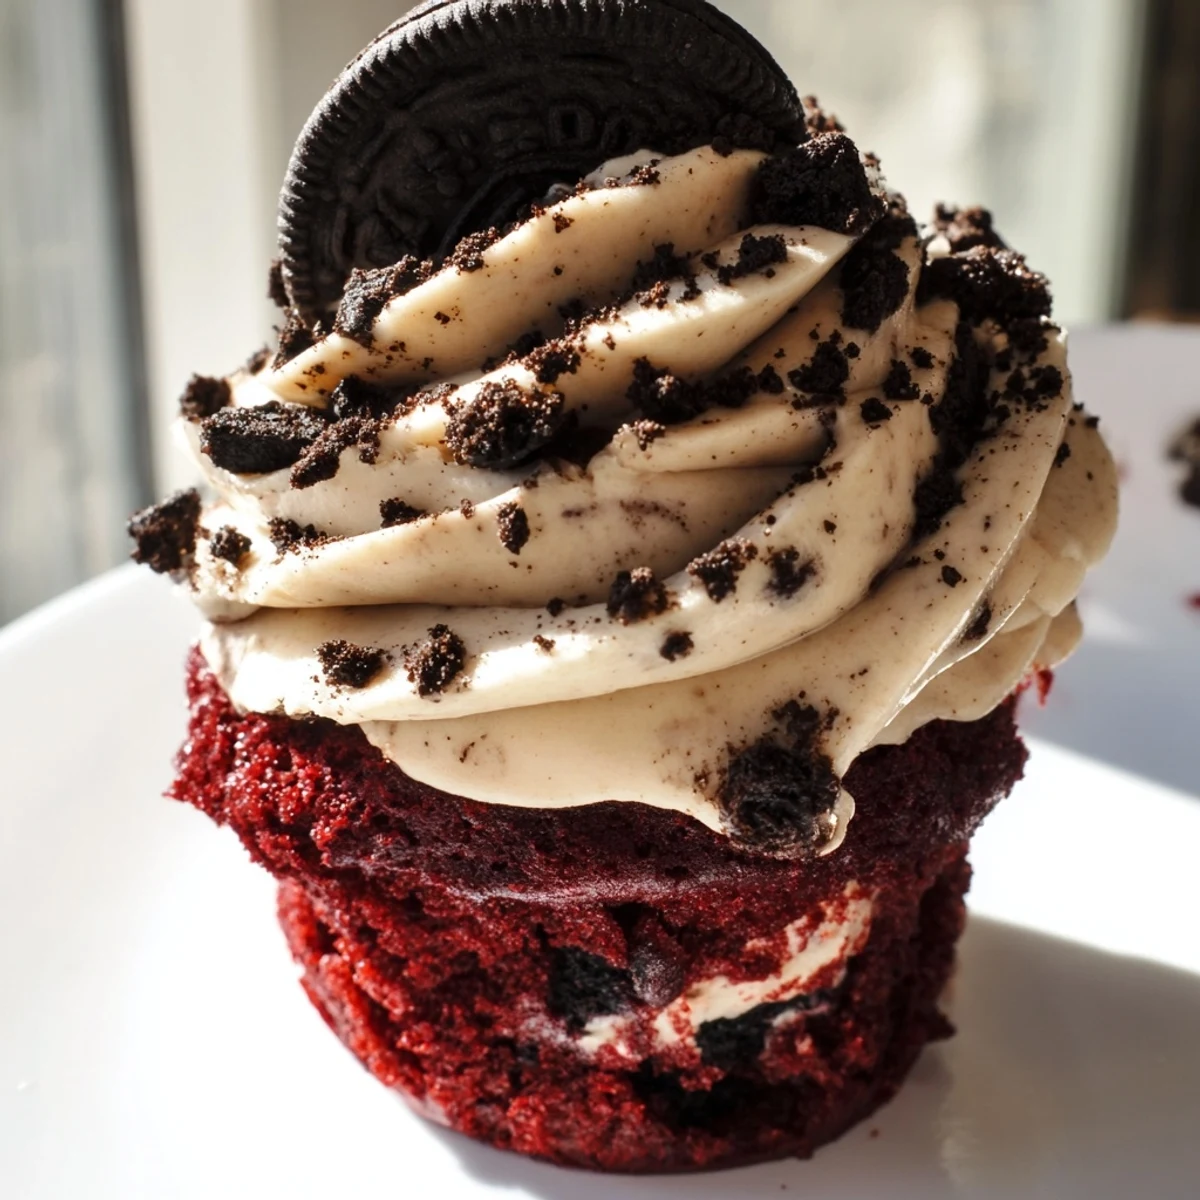
- Pipe or spread the frosting onto completely cooled cupcakes and sprinkle extra Oreo crumbs on top if you want them to look bakery level.
 Pin this
 The first time I got the frosting right I stood in my kitchen at midnight eating one straight from the piping bag with no shame at all.
Making Them Your Own
You can fold mini chocolate chips into the batter alongside the Oreos if you want an even richer chocolate experience. A friend of mine swears by adding a drop of almond extract to the frosting for a subtle marzipan vibe that pairs surprisingly well with the cookies and cream.
Storage That Actually Works
These keep well in the fridge for up to four days in an airtight container, and the cold actually firms the frosting into something almost fudgy. Let them sit at room temperature for about fifteen minutes before serving so the cake softens back up.
Getting The Color Right
The shade of red depends entirely on your food coloring brand, so do not panic if your first batch looks more brick than crimson. Gel coloring is your best friend here because you can build intensity without adding excess liquid that throws off the batter consistency.
- Start with one tablespoon of gel and add more drop by drop if you want a deeper red.
- Natural food colorings tend to produce a more muted terracotta tone which is lovely in its own way.
- Always color the batter before adding the chopped Oreos so you can judge the shade accurately.
 Pin this
 Every batch teaches you something small, and honestly that is the best part of baking the same recipe over and over. These cupcakes are worth every red stained spoon and every smudged counter.
Recipe FAQs
- → Can I make red velvet Oreo cupcakes ahead of time?
-
Yes, you can bake the cupcakes a day in advance and store them in an airtight container at room temperature. Frost them the day you plan to serve for the freshest presentation and best texture.
- → Why did my cupcakes sink in the middle?
-
Sinking usually happens when the oven is opened too early, the batter is overmixed, or there's too much leavening agent. Avoid opening the oven door during the first 15 minutes of baking and mix the batter just until the dry ingredients are incorporated.
- → Can I use liquid food coloring instead of gel?
-
You can substitute liquid food coloring, but you'll need about 2 tablespoons to achieve a similar depth of color. Keep in mind the extra liquid may slightly alter the texture of the crumb, making it a bit less dense.
- → How should I store frosted cupcakes?
-
Store frosted cupcakes in the refrigerator in an airtight container for up to 4 days. Let them sit at room temperature for about 20 minutes before serving so the frosting softens and the flavors fully develop.
- → Can I freeze these cupcakes?
-
Absolutely. Freeze the unfrosted cupcakes wrapped tightly in plastic wrap for up to 3 months. Thaw overnight in the refrigerator, then bring to room temperature before adding the cream cheese Oreo frosting.
- → What can I substitute for buttermilk?
-
Mix 1/2 cup of regular milk with 1/2 tablespoon of white vinegar or lemon juice. Let it sit for 5 minutes until it curdles slightly, then use it as a direct replacement for the buttermilk in this batter.