 Pin this
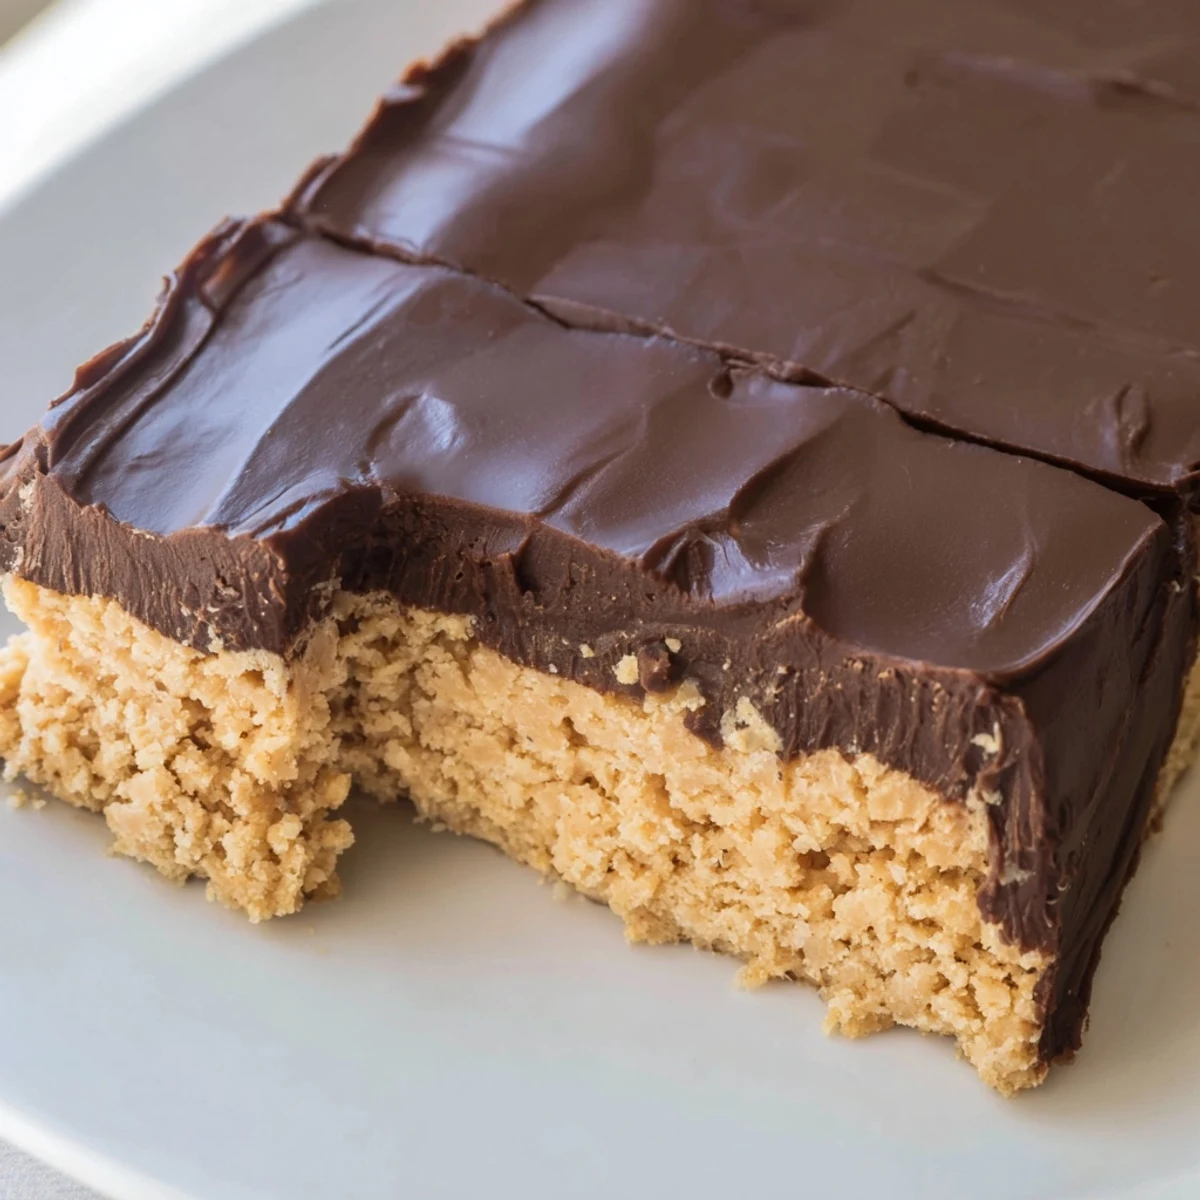
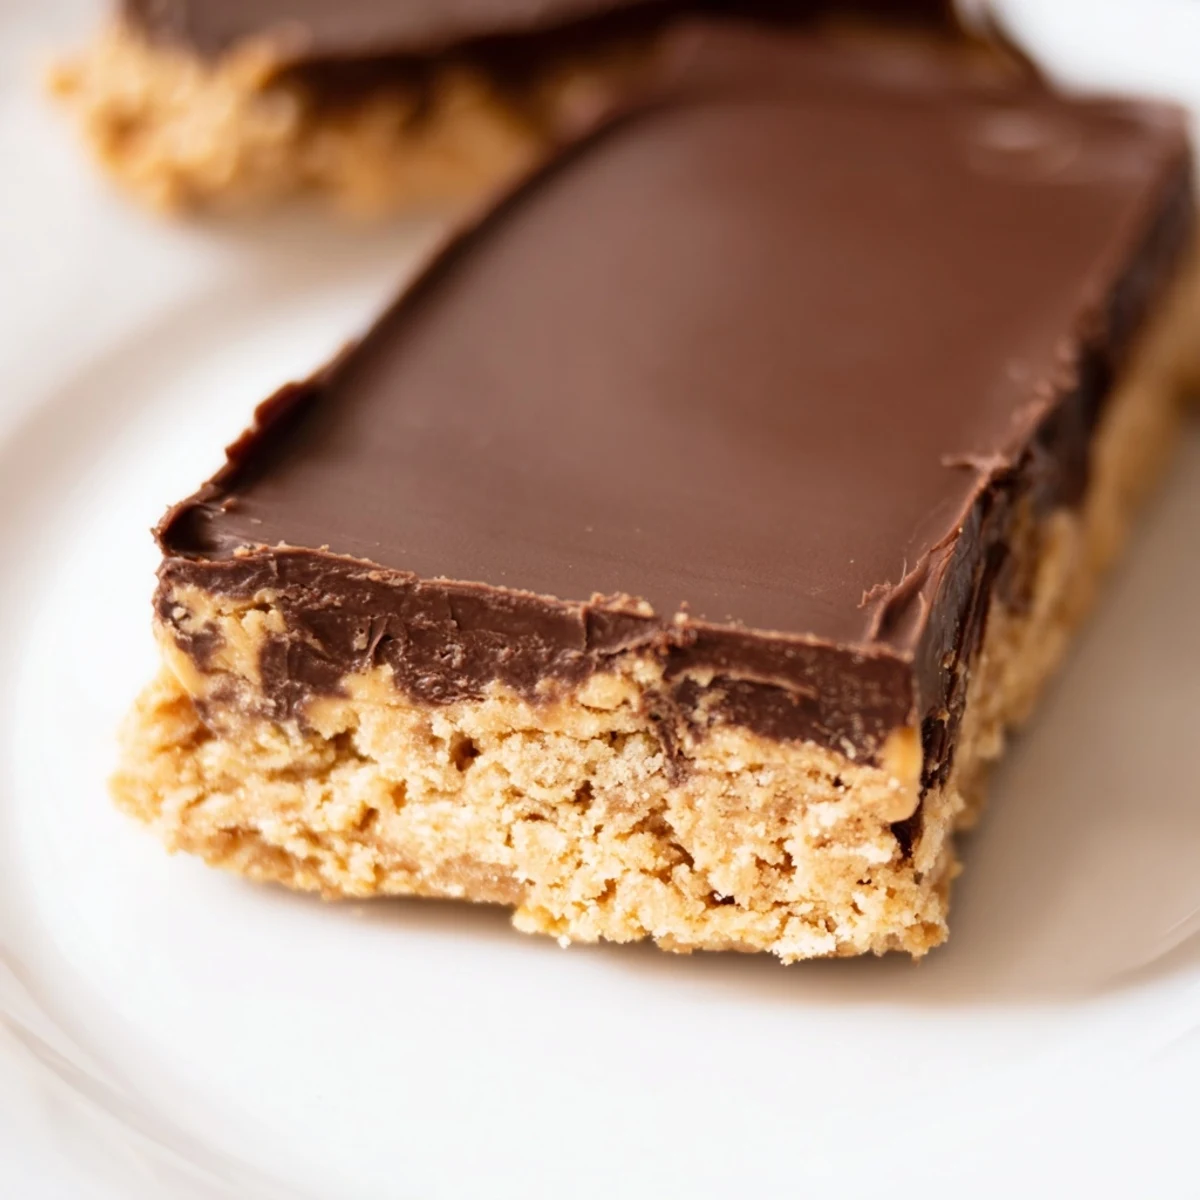
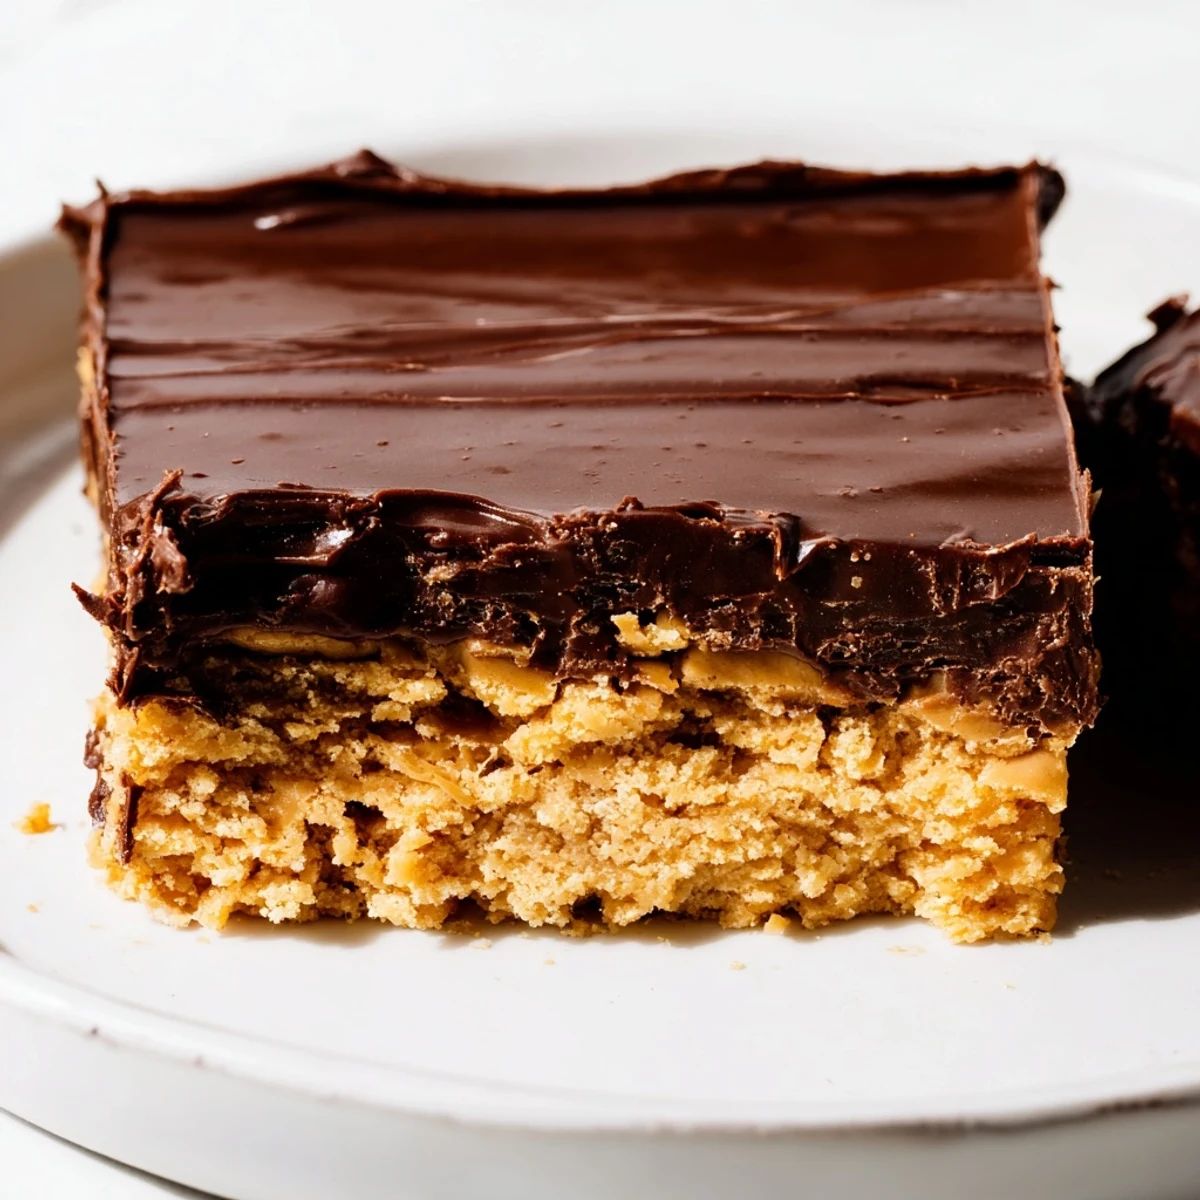
 These indulgent no-bake bars combine a creamy peanut butter and graham cracker base with a silky chocolate-peanut butter topping. The preparation is straightforward: simply mix the base ingredients, press into a pan, melt the chocolate topping, and chill until set. Perfect for gatherings or as an anytime treat, these bars offer the ideal balance of salty and sweet flavors with a satisfying chewy texture.
My kitchen smelled like a candy factory the afternoon I threw together these peanut butter bars during a sudden craving that hit right before friends arrived for a movie night. I had no intention of making dessert, but a jar of peanut butter and a bag of chocolate chips stared back at me from the pantry like a dare. Twenty minutes later, the pan was in the fridge and I was wiping chocolate off my shirt, already sneaking a corner piece before anyone walked through the door.
I brought a batch of these to a potluck once and watched three people ask for the recipe before they even finished their first bar. My friend Rachel now makes them for every holiday gathering and still texts me photos of her pan every single time.
Ingredients
- Creamy peanut butter (1 cup): Use the regular kind, not the natural stirred variety, because the texture needs to be smooth and spreadable without any oil separation messing with the consistency.
- Unsalted butter, melted (1/2 cup): Melting the butter first helps everything come together fast with no heavy mixing required.
- Powdered sugar (2 cups): This sweetens the base and gives it that fudgy, dense texture that holds together when you cut into bars.
- Graham cracker crumbs (1 and 1/2 cups): Crushing them finely is key because large chunks leave awkward gaps in the base. Digestive biscuits work just as well if that is what you have on hand.
- Vanilla extract (1/2 tsp): Just a splash rounds out the flavor and makes the base taste less flat.
- Semi-sweet chocolate chips (1 and 1/2 cups): These melt down into the most silky, snappy topping that cracks beautifully when you bite into a cold bar.
- Creamy peanut butter for topping (1/4 cup): Stirring a little extra peanut butter into the melted chocolate keeps the topping from becoming too hard and adds a faint salty undertone that balances the sweetness.
Instructions
- Prep your pan:
- Line a 9 by 9 inch baking pan with parchment paper, leaving some overhang on the sides so you can lift the whole slab out later for cleaner cutting.
- Build the base:
- In a large bowl, stir together the melted butter, peanut butter, powdered sugar, graham cracker crumbs, and vanilla until everything is evenly combined and the mixture looks thick and slightly crumbly but holds together when pressed.
- Press it down:
- Transfer the mixture to your lined pan and press it firmly into an even layer using your hands or the back of a spoon. Really pack it in tight because a loose base will crumble when you slice.
- Melt the topping:
- In a microwave-safe bowl, combine the chocolate chips and the extra peanut butter. Microwave in 30 second bursts, stirring after each one, until the mixture is completely smooth and glossy with no lumps remaining.
- Spread and chill:
- Pour the chocolate mixture over the base and use a spatula to spread it into an even layer that reaches every corner. Pop the whole pan into the fridge for at least one hour until the top is firm to the touch.
- Slice and serve:
- Lift the slab out using the parchment overhang and cut it into 16 squares with a sharp knife. Store any leftovers in the fridge so the chocolate stays set.
 Pin this
 The best part about these bars is watching someone bite into one for the first time and seeing their eyes go wide at that chocolate shell cracking against the soft peanut butter layer underneath.
Making It Your Own
I have started tossing a handful of chopped roasted peanuts into the base whenever I want a little more texture and it completely changes the experience in the best way. You could also swirl a little jam on top of the chocolate before it sets for a peanut butter and jelly vibe that kids absolutely lose their minds over.
Storing and Sharing
These bars keep beautifully in the fridge for up to a week, though honestly they never last that long in my house. If you are stacking them in a container, place a piece of parchment between layers so the chocolate tops do not stick together and create a messy situation.
A Few Final Thoughts
Sometimes the simplest desserts are the ones people request most often, and these bars prove that point every single time. Trust the process, let them chill fully, and enjoy the easiest crowd-pleaser in your recipe rotation.
- A cold bar straight from the fridge tastes completely different from one that has been sitting out for ten minutes, so try both and see which you prefer.
- If your peanut butter is particularly salty, dial back any urge to add extra salt to the base.
- Always cut with a sharp knife wiped clean between slices for the neatest looking bars.
 Pin this
 Keep a batch in your fridge at all times and you will never be caught without something sweet when unexpected guests show up. These bars have saved me more times than I can count, and they will do the same for you.
Recipe FAQs
- → How long do these need to chill?
-
Refrigerate for at least 1 hour until firmly set. For easier cutting, you can chill longer—overnight works perfectly.
- → Can I freeze these bars?
-
Yes! Wrap individual bars in plastic wrap and freeze for up to 3 months. Thaw in the refrigerator before serving.
- → What type of peanut butter works best?
-
Creamy peanut butter provides the smoothest texture. Natural peanut butter works but may result in a slightly softer base.
- → Can I make these dairy-free?
-
Absolutely! Use dairy-free butter and vegan chocolate chips to create a delicious vegan version without sacrificing flavor or texture.
- → How should I store leftovers?
-
Keep refrigerated in an airtight container for up to 1 week. The bars maintain their texture best when chilled.
- → Can I use crunchy peanut butter?
-
Yes, crunchy peanut butter adds extra texture to the base. For the topping, creamy peanut butter melts more smoothly.