 Pin this
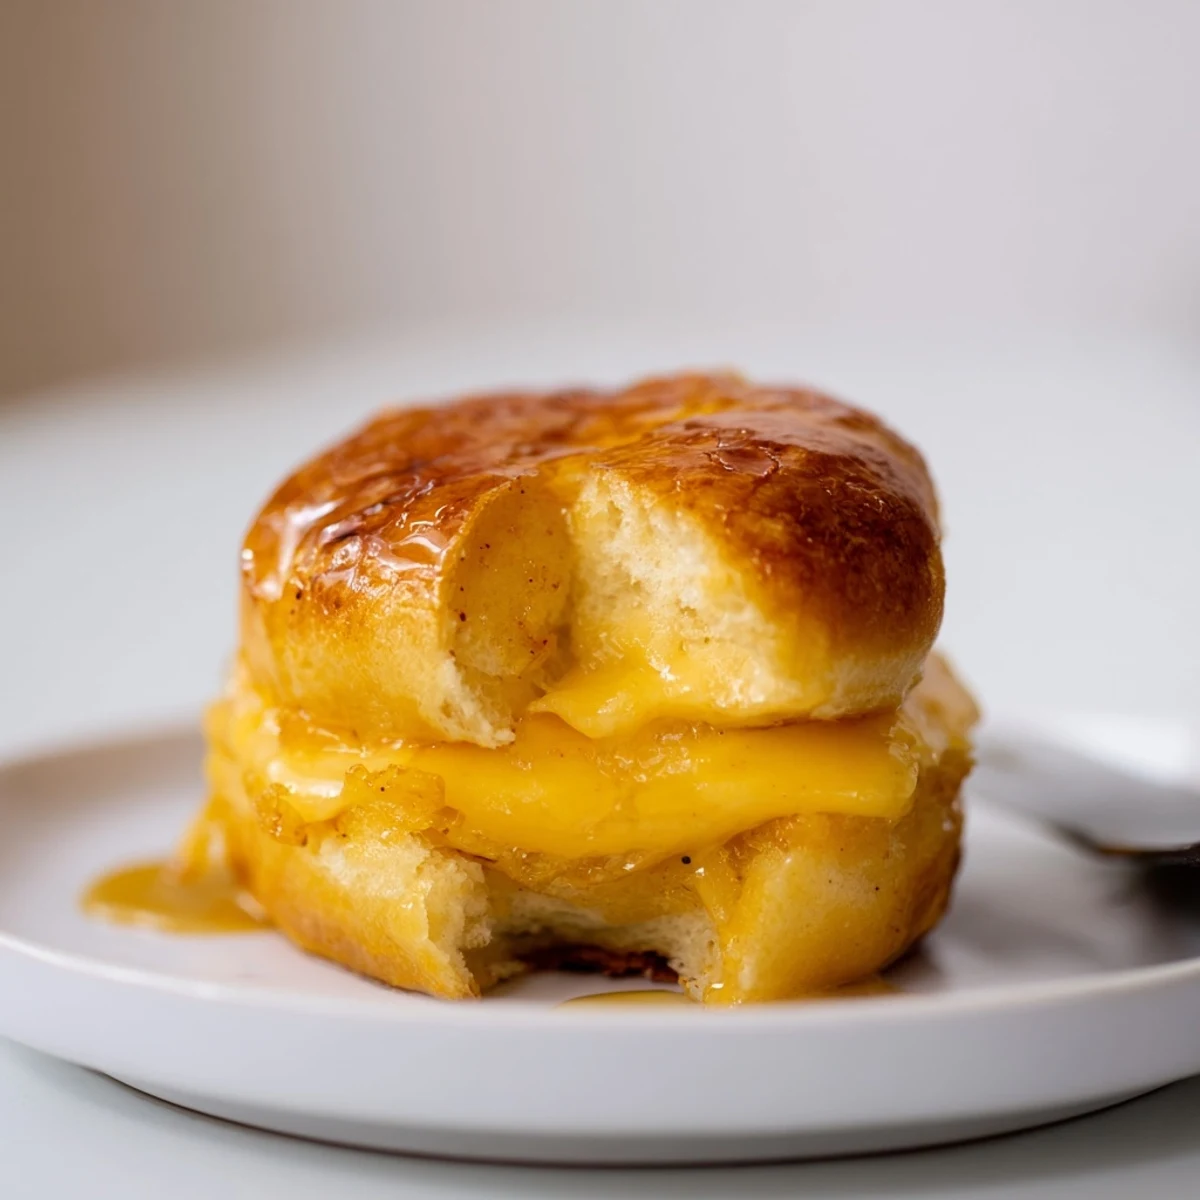
 These bite-sized cheddar melts start with a whole pack of Hawaiian sweet rolls split into top and bottom halves, layered with sliced cheddar and optional deli meat. Brush the tops with a honey-mustard butter and bake at 350°F (175°C) for 10–15 minutes until cheese is melted and tops are golden. Let rest briefly, cut into individual minis, and serve warm. Try different cheeses or add caramelized onions for variety.
On a lazy Saturday, I stumbled across a forgotten pack of Hawaiian rolls buried in the back of the pantry. The sweet, toasty smell of them baking always reminds me of casual afternoons when the only agenda was a bit of comfort. Grabbing some sharp cheddar and butter, I remembered how crisp and gooey grilled cheese can instantly warm up a kitchen. This time, I decided to try something new: making mini grilled cheese bites that disappeared almost as soon as they left the oven.
I made these during a family game night, only to realize halfway through Monopoly that everyone had drifted to the kitchen, drawn in by the smell of melting cheese. Each mini sandwich vanished the moment it hit a plate, so I had to defend the last one with tongs in hand. Watching everyone laugh and sneak seconds turned a simple snack into a highlight of the evening.
Ingredients
- Hawaiian sweet rolls: The secret to that pillowy texture and subtle sweetness — slice the whole block at once for easy assembly.
- Sliced cheddar cheese: Sharp cheddar creates that perfect stretchy melt and tangy kick; try to cover every inch for even cheesiness.
- Unsalted butter, melted: Brushed over the top, the butter gives a golden, crispy finish; melt fully so it soaks in nicely.
- Optional deli ham or turkey: When I want to make these hearty, a slice of savory ham or turkey adds welcome heft.
- Dijon or yellow mustard (optional): A swipe mixed into the butter brings a lovely zip, if you’re in the mood for it.
- Honey (optional): For a touch of extra sweetness, I sometimes add honey to the butter mixture.
- Garlic powder (optional): Sprinkling this on top makes the kitchen smell irresistibly cozy.
Instructions
- Turn up the heat:
- Preheat your oven to 350°F (175°C) and line your baking sheet with parchment paper to help with cleanup later.
- Slice the rolls:
- Keeping the pack of Hawaiian rolls together, use a serrated knife to slice evenly through the entire block — take your time for a neat top and bottom.
- Layer the goodness:
- Set the bottom half on your baking sheet and shingle on those cheddar slices; if you’re adding ham or turkey, nestle it right beneath the cheese.
- Seal them up:
- Carefully place the top half of the rolls back over everything, gently pressing down to keep the layers snug.
- Brush with flavor:
- Mix your melted butter with mustard, honey, and garlic powder if you’d like; brush generously over the tops so every roll glistens.
- Bake until golden:
- Pop the tray in the oven and watch for the moment the cheese bubbles at the sides and the tops are shiny and deep gold, about 10–15 minutes.
- Cool and serve:
- Let them sit for a couple of minutes, then cut gently into individual sandwiches — eat while warm for the ultimate cheese pull.
 Pin this
 Sometime last spring, these minis stole the show at a backyard get-together. As the sun started to dip, I remember everyone standing around the kitchen counter, each reaching for “just one more” until the tray was nothing but crumbs. Funny how these simple bites can spark a crowd to linger together a little longer.
When to Switch Up the Filling
Once, I swapped in pepper jack and leftover roasted chicken, and the result was an accidental hit. Sometimes tossing in a few slices of tomato or a sprinkle of caramelized onions makes them feel a little fancy with barely any extra work. These little sandwiches are a blank canvas for whatever you discover in the fridge.
Make-Ahead and Reheating Advice
If you’re prepping for a party, assemble them ahead but hold off on baking until guests are about to arrive. I’ve learned they taste best fresh out of the oven, but even reheated in a toaster oven, they keep their crispy tops and gooey centers surprisingly well.
Serving Suggestions for Extra Smiles
I like to serve these with small bowls of warm tomato soup for dipping, especially when there’s a chill in the air. Sometimes, I’ll lay out a platter with pickles, chips, or even a little salad for variety.
- Let the tray rest a minute before slicing for cleaner portions.
- If you’re adding extras like bacon or onions, layer them between the cheese.
- For a crowd, double the recipe — they vanish quickly.
 Pin this
 Here’s to those tiny kitchen victories: crisp edges, melted cheese, and the sound of happy hands reaching for seconds. I hope these mini sandwiches bring a bit of warmth and fun to your table, just like they have to mine.
Recipe FAQs
- → What cheeses melt best for these minis?
-
Cheddar melts beautifully for sharp flavor; Swiss and provolone offer a milder, gooey pull. Pepper jack adds heat. For the creamiest texture, use thinly sliced or shredded cheeses that melt evenly.
- → Can I prepare them ahead of time?
-
Yes. Assemble the rolls and refrigerate covered for up to 24 hours, then brush with butter and bake when ready. Alternatively, bake fully, cool, and reheat in the oven for best texture.
- → Are these suitable for freezing?
-
You can freeze unbaked assembled sliders on a baking sheet, then transfer to a bag for up to 1 month. Bake from frozen, adding a few extra minutes. Baked leftovers can also be frozen and reheated in the oven.
- → How can I make a dairy-free or vegan version?
-
Use plant-based sliced cheese and a vegan buttery spread for the glaze. Check the roll ingredients for eggs or other animal components and choose egg-free Hawaiian-style buns if needed.
- → What glaze or topping options work well?
-
A mix of melted butter, honey, and mustard brushed on top gives a sweet-savory finish; sprinkle garlic powder or sesame seeds for extra flavor and crunch.
- → Best way to reheat without sogginess?
-
Reheat in a 350°F oven for 8–10 minutes or use an air fryer at low temperature to revive crispness. Avoid microwaving for long periods, which can make the rolls soggy.