 Pin this
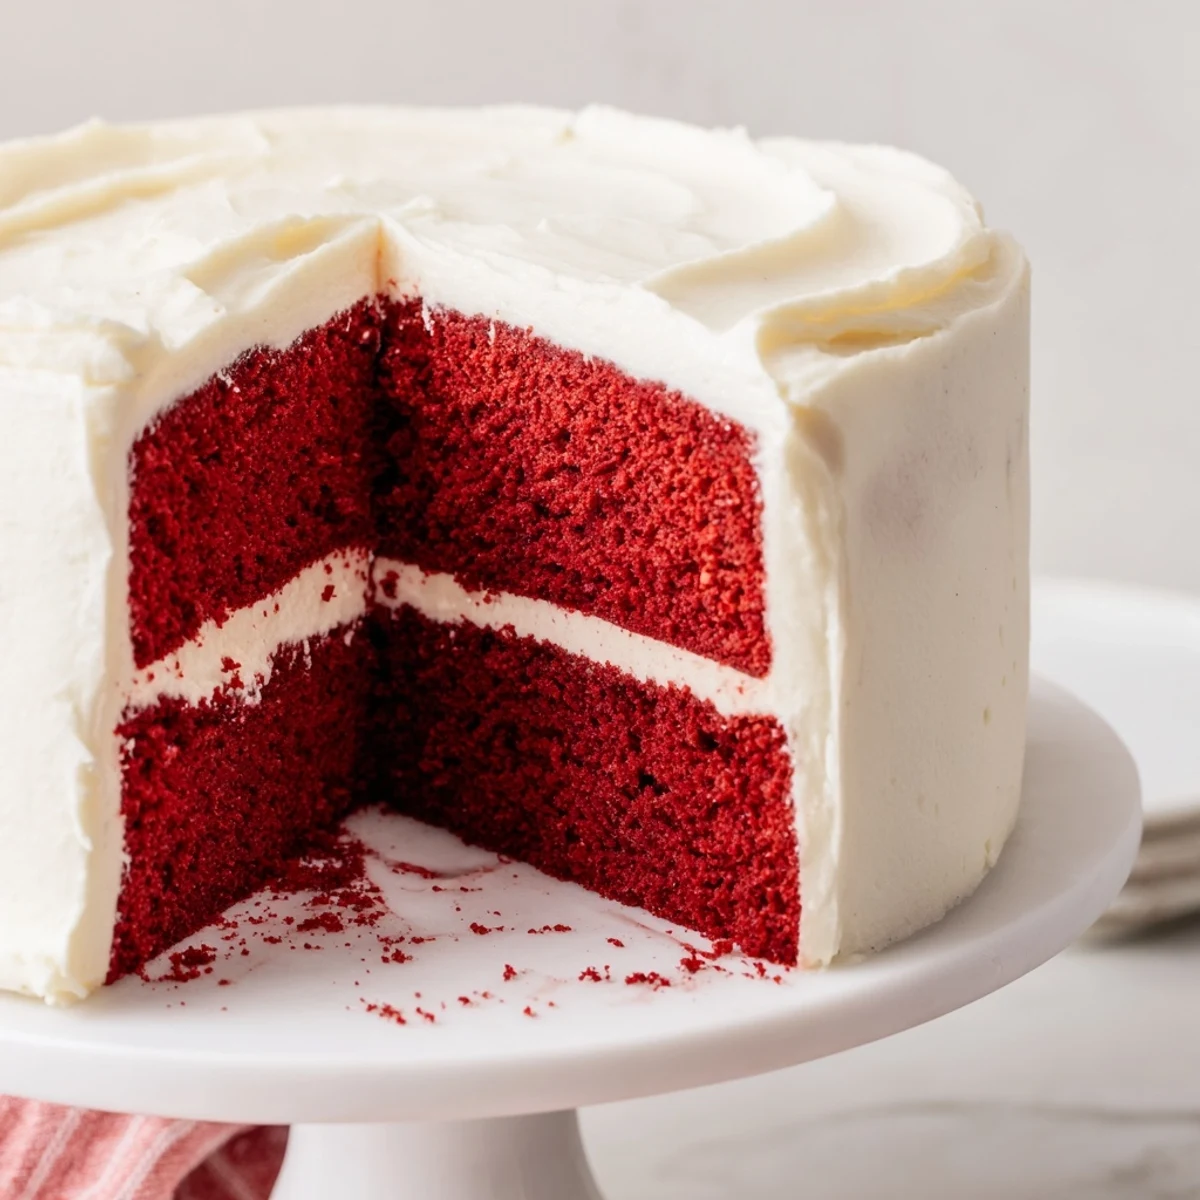
 This stunning red velvet cake delivers the perfect balance of subtle cocoa flavor and velvety texture. The vibrant red layers get their signature hue from food coloring, while buttermilk and vegetable oil create exceptional moistness that lasts for days. A rich cream cheese frosting adds tangy sweetness that complements the delicate chocolate undertones beautifully.
Ready in just one hour total, this showstopping dessert serves 12 people generously. The simple batter comes together quickly—whisk wet ingredients, fold in dry components, and bake until a toothpick emerges clean. After cooling completely, layer the cakes with fluffy frosting and chill briefly for clean, professional-looking slices.
Customize your creation by adding almond extract to the batter, decorating with fresh berries or chocolate shavings, or adjusting the red food coloring for your preferred intensity. This vegetarian dessert contains wheat, eggs, and dairy.
The first time I attempted red velvet cake, I accidentally doubled the food coloring and ended up with something that looked like a science experiment gone wrong. My husband still laughs about the year our kitchen looked like a crime scene from a baking disaster. Now I know that one tablespoon is all you need for that perfect deep red that makes people pause and ask what makes it so special.
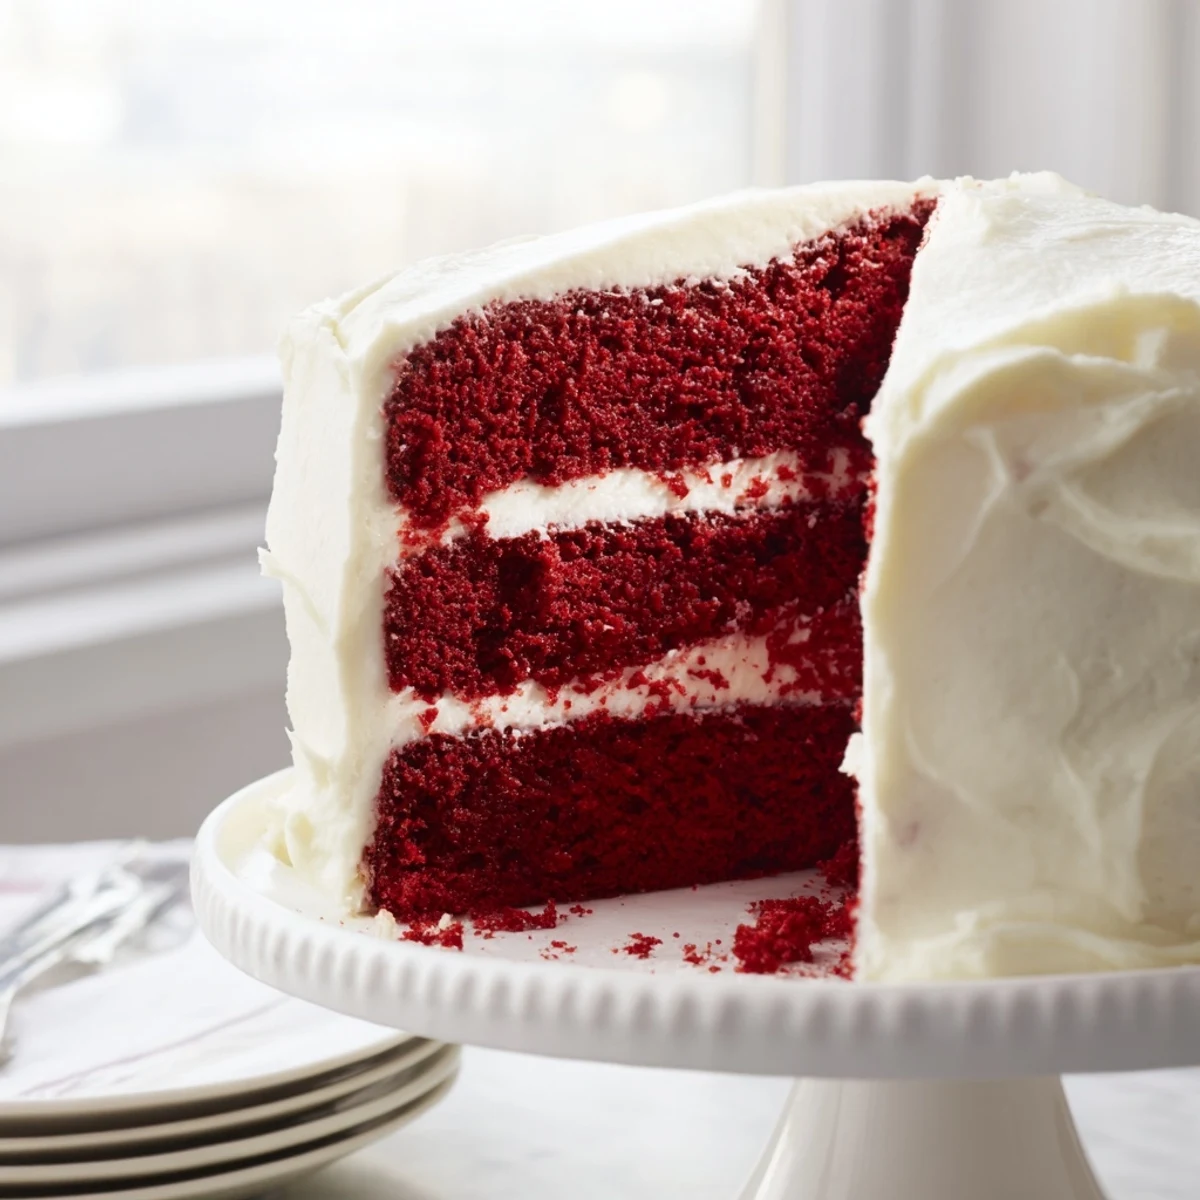
I made this cake for my daughters birthday last spring and watched her eyes widen when she saw the dramatic layers against the white frosting. The way the red peeks through creates such a stunning contrast that people assume it took hours to perfect. My grandmother swore red velvet was just chocolate cake in disguise, but there is really something magical about how the cocoa and buttermilk work together.
Ingredients
- 2 1/2 cups all-purpose flour: The foundation that gives structure without making the cake tough or dry
- 1 1/2 cups granulated sugar: Sweetens while keeping the tender crumb we love
- 1 teaspoon baking soda: Works with the vinegar and buttermilk for that signature rise
- 1 teaspoon fine salt: Enhances all the flavors especially the chocolate notes
- 1 tablespoon unsweetened cocoa powder: Just enough for subtle depth without overpowering the classic taste
- 1 1/2 cups vegetable oil: Creates incredible moisture better than butter ever could
- 1 cup buttermilk room temperature: Essential for tenderness and activating the baking soda
- 2 large eggs room temperature: Bind everything together and add richness
- 2 tablespoons red food coloring: Gives that iconic hue and slightly metallic taste people associate with red velvet
- 1 teaspoon vanilla extract: Rounds out all the flavors beautifully
- 1 teaspoon white vinegar: Reacts with buttermilk for extra lift and tenderness
- 8 oz cream cheese softened: The star of the frosting bringing tangy creaminess
- 1/2 cup unsalted butter softened: Stabilizes the frosting and adds buttery depth
- 4 cups powdered sugar sifted: Sweetens and thickens the frosting to spreadable perfection
Instructions
- Prepare your oven and pans:
- Preheat oven to 350°F and generously grease and flour two 9-inch round cake pans so nothing sticks later
- Mix the dry ingredients:
- Sift together flour sugar baking soda salt and cocoa powder in a medium bowl until everything is well combined and aerated
- Whisk the wet ingredients:
- In a large bowl whisk oil buttermilk eggs food coloring vanilla and vinegar until completely smooth and uniform in color
- Combine the batter:
- Gradually add dry ingredients to wet ingredients mixing gently just until smooth and no flour streaks remain
- Bake the layers:
- Divide batter evenly between prepared pans and bake 28 to 30 minutes until a toothpick comes out clean
- Cool completely:
- Let cakes rest in pans 10 minutes then turn onto wire rack to cool entirely before frosting
- Make the frosting:
- Beat cream cheese and butter until smooth then gradually add powdered sugar followed by vanilla and salt until fluffy
- Assemble the cake:
- Place one layer on a serving plate spread with frosting top with second layer then frost top and sides generously
- Chill before slicing:
- Refrigerate 30 minutes for cleaner cuts and firmer texture
 Pin this
 This recipe became my go to for baby showers and office celebrations after a coworker asked for the recipe three years in a row. There is something about the combination that makes people feel celebrated and cared for in a way sheet cakes never quite achieve.
Getting The Perfect Red
Natural food colorings work but the color will be more muted than traditional gel or liquid red. I learned this the hard way when trying to make a version for my niece who reacts to artificial dyes. The flavor remains identical but the visual impact changes dramatically so choose your color based on your priorities.
Frosting Like A Pro
Apply a thin crumb coat first and chill for 15 minutes before adding the final layer of frosting. This simple step changed my cake game entirely and keeps those pesky red crumbs from showing through the white cream cheese frosting. The patience required is absolutely worth the pristine result.
Making It Ahead
Red velvet actually tastes better the next day when the flavors have had time to meld and develop. I often bake the layers a day ahead wrap them tightly and frost just before serving. The texture remains incredibly moist and the chocolate vanilla buttermilk combination becomes even more pronounced.
- Store unfrosted layers at room temperature wrapped in plastic for up to 2 days
- Refrigerate frosted cake but bring to room temperature 30 minutes before serving
- Frozen unfrosted layers last up to 3 months when well wrapped
 Pin this
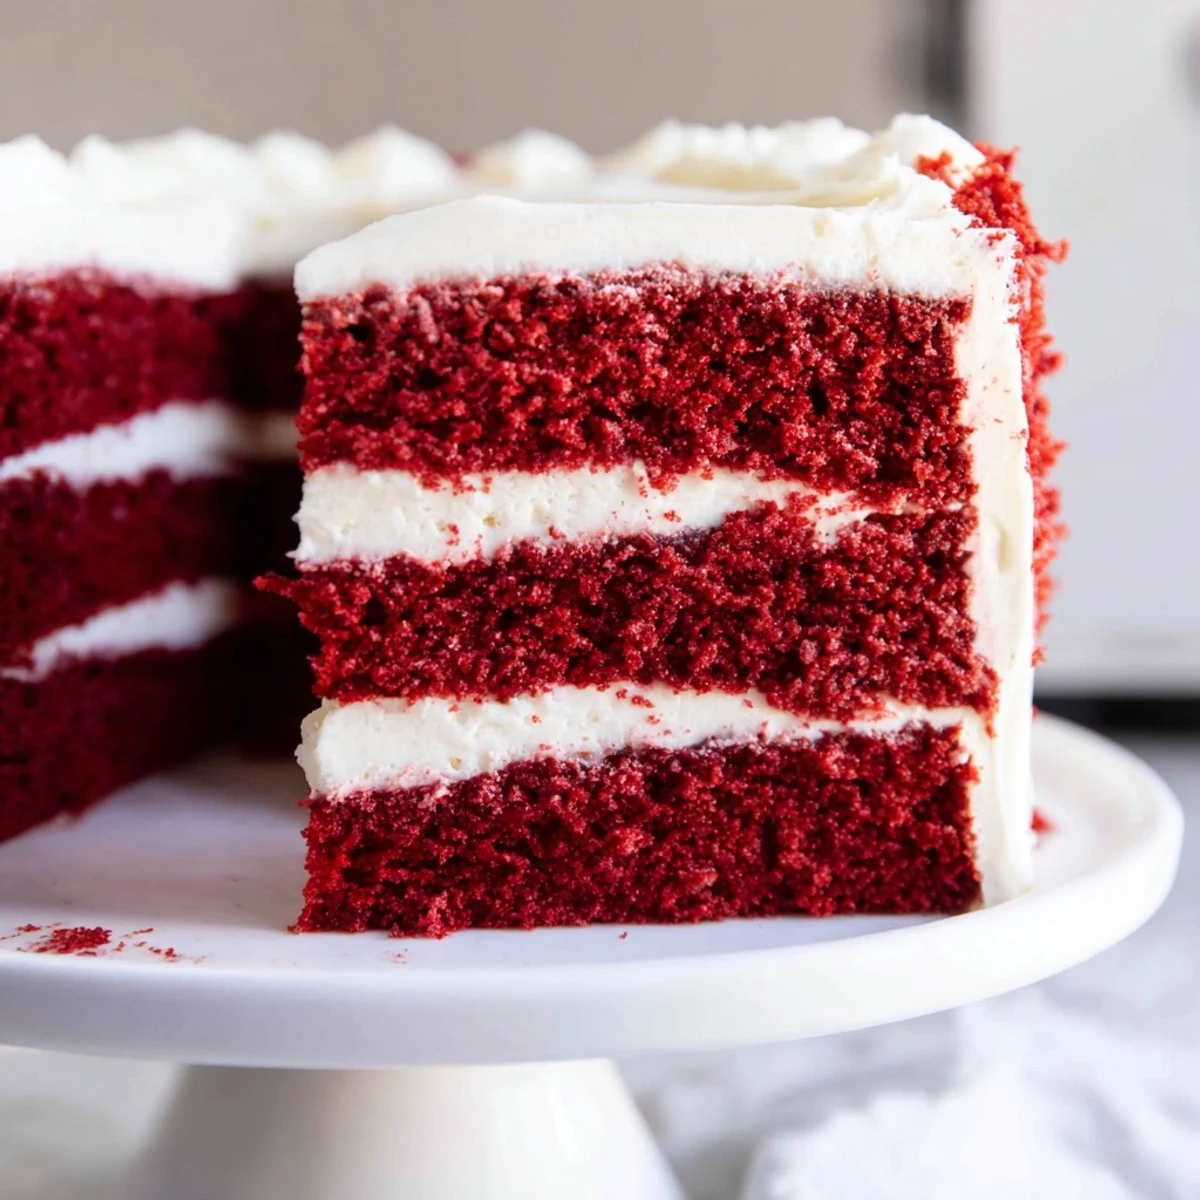
 Every slice feels like a small celebration and that might be exactly why red velvet has endured for generations.
Recipe FAQs
- → What makes red velvet cake different from chocolate cake?
-
Red velvet cake has a much milder cocoa flavor than traditional chocolate cake, with subtle chocolate notes rather than rich chocolate intensity. The buttermilk and vinegar react with baking soda to create a softer, more tender crumb structure. The signature red color comes from food coloring, while the cream cheese frosting provides tangy sweetness that perfectly balances the delicate flavors.
- → Can I make red velvet cake ahead of time?
-
Absolutely! The cake layers can be baked up to 2 days in advance—wrap them tightly in plastic wrap and store at room temperature. You can also freeze unfrosted layers for up to 3 months. Once frosted, the entire cake stays fresh in the refrigerator for 3-4 days. Bring chilled cake to room temperature 30 minutes before serving for the best texture and flavor.
- → Why does my red velvet cake sometimes turn brown instead of red?
-
The cocoa powder can oxidize and cause the vibrant red to darken over time. Using high-quality gel food coloring instead of liquid helps maintain the bright red hue. Also, avoid overbaking, as extended heat exposure can cause color fading. Adding the food coloring to the wet ingredients before combining with dry components ensures even distribution throughout the batter.
- → What's the best way to get smooth cream cheese frosting?
-
Start with truly softened cream cheese and butter—leave them at room temperature for at least 2 hours. Beat them together until completely smooth before adding any sugar. Sift the powdered sugar beforehand to prevent lumps. Add sugar gradually while mixing on low speed, then increase to high and beat for 2-3 minutes until fluffy. If the frosting becomes too soft, refrigerate for 15-20 minutes before spreading.
- → Can I substitute buttermilk in red velvet cake?
-
Yes! Make homemade buttermilk by combining 1 cup of whole milk with 1 tablespoon of lemon juice or white vinegar. Let the mixture sit for 10 minutes until it curdles and thickens slightly. Alternatively, use plain yogurt thinned with a little milk, or sour cream diluted with milk. These substitutes maintain the necessary acidity for the baking soda reaction while keeping the cake tender and moist.
- → How do I prevent my cake layers from sticking to the pans?
-
Thoroughly grease your cake pans with butter, shortening, or cooking spray, then dust with flour, tapping out excess. For extra insurance, cut parchment paper circles to line the bottom of each pan. Allow the cakes to cool in the pans for exactly 10 minutes after baking—too long and they'll steam, too short and they may break apart. Run a thin knife around the edges before inverting onto your wire rack.