 Pin this
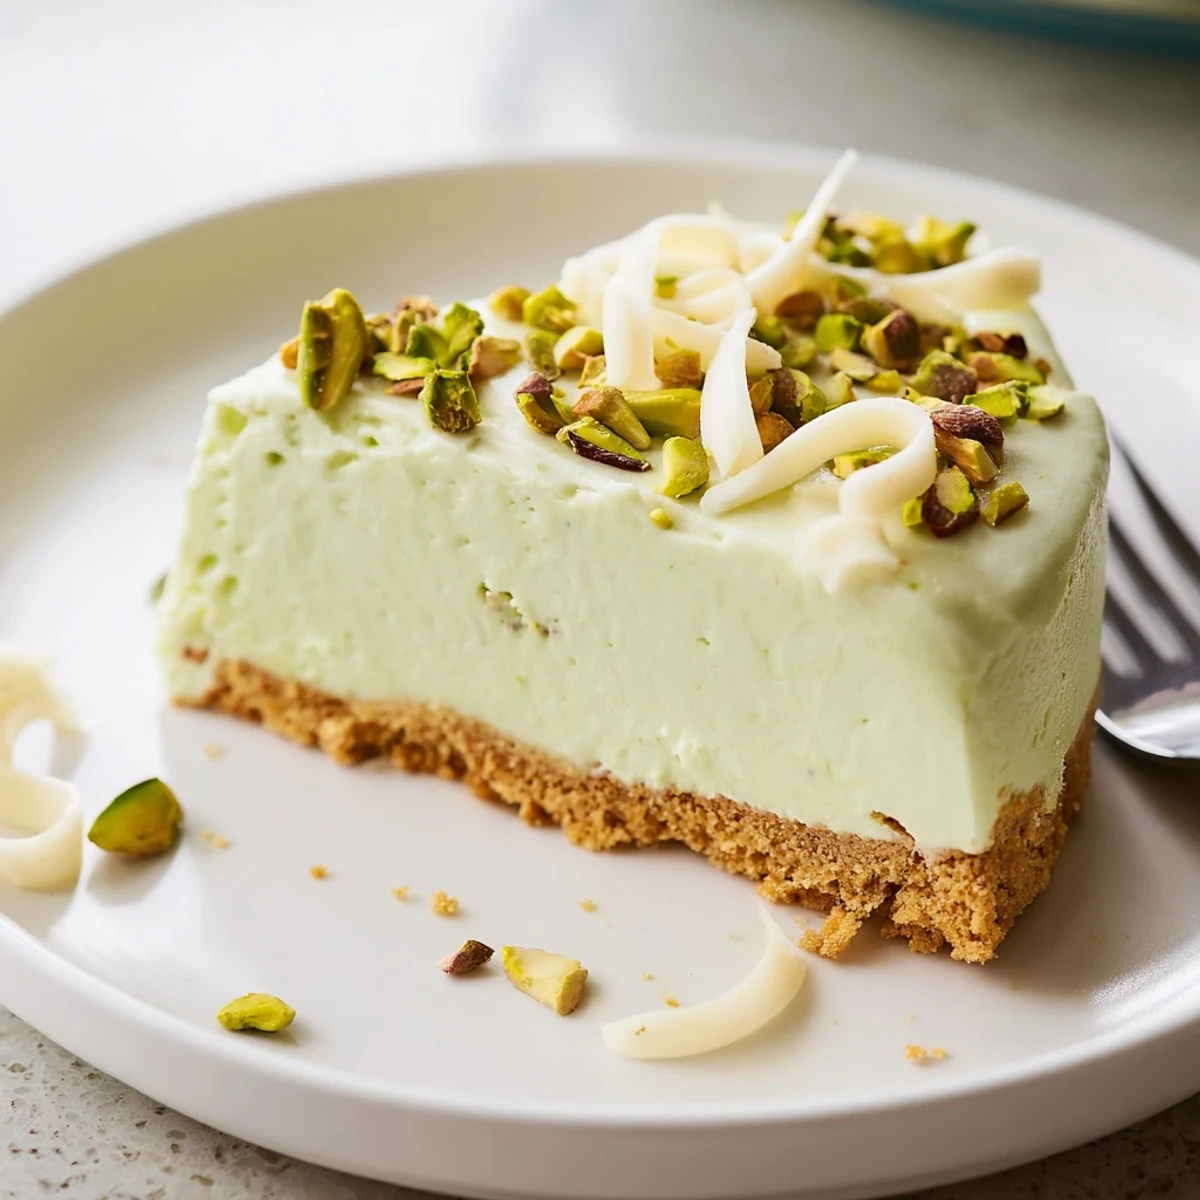
 This no bake pistachio cheesecake delivers a velvety, nutty filling layered over a crisp buttery biscuit crust — all without turning on the oven. Simply crush digestive biscuits for the base, then blend cream cheese with pistachio paste, fold in freshly whipped cream, and let it set in the fridge for at least four hours.
The result is a stunning dessert with a vibrant green hue and a delicate pistachio flavor balanced by sweet vanilla. Topped with roughly chopped pistachios for crunch, it's an elegant make-ahead treat perfect for gatherings.
The farmers market had a pistachio vendor one Saturday who handed me a spoonful of fresh pistachio butter, and I stood there in the middle of the crowd completely transport. That velvety, nutty intensity haunted me for weeks until I figured out it belonged in a cheesecake. The no bake version came about because it was July and my apartment felt like a furnace already. Now this green hued beauty is my most requested warm weather dessert.
My friend Laura took one bite at a dinner party and immediately demanded the recipe, then made it three times in two weeks for various coworkers. She called me after the third one to announce she was officially retiring her old go to dessert.
Ingredients
- Digestive biscuits (200 g): Graham crackers work just as well, but digestives give a slightly more caramel depth to the base.
- Unsalted butter, melted (80 g): This binds the crumbs together, and using unsalted lets you control the sweetness.
- Cream cheese, softened (300 g): Full fat is non negotiable here, as it creates the dense, luxurious texture this dessert deserves.
- Heavy whipping cream, cold (200 ml): Cold cream whips faster and holds its shape better when folded into the filling.
- Pistachio paste (100 g): The soul of this cheesecake, so invest in a quality paste or make your own for the deepest flavor.
- Powdered sugar (80 g): Dissolves seamlessly into the filling without any grainy texture.
- Vanilla extract (1 tsp): Rounds out the nutty sweetness with a warm, familiar note.
- Shelled pistachios, roughly chopped (40 g): The crunch on top provides the most satisfying contrast to the creamy filling below.
Instructions
- Build the crust:
- Crush the biscuits into fine crumbs using a food processor or the satisfyingly therapeutic bag and rolling pin method. Pour in the melted butter and mix until every crumb glistens evenly.
- Set the foundation:
- Press the crumb mixture firmly into the base of a 20 cm springform pan, using the back of a spoon or the flat bottom of a glass for an even, compact layer. Pop it into the refrigerator for 20 minutes to firm up.
- Create the filling base:
- Beat the softened cream cheese, pistachio paste, powdered sugar, and vanilla extract together until the mixture turns completely smooth and that gorgeous pale green color emerges.
- Whip the cream:
- In a separate chilled bowl, whip the cold heavy cream until it holds stiff peaks that stand tall when you lift the beaters.
- Bring it together:
- Gently fold the whipped cream into the pistachio mixture with a spatula, using slow sweeping motions to keep as much air in the batter as possible.
- Assemble and chill:
- Spoon the filling over the chilled base and smooth the top with your spatula. Cover tightly and refrigerate for at least 4 hours, though overnight yields the best set.
- Finish with flair:
- Just before serving, scatter the chopped pistachios across the top and add white chocolate shavings if you are feeling indulgent. Release from the pan, slice with a warm knife, and serve.
 Pin this
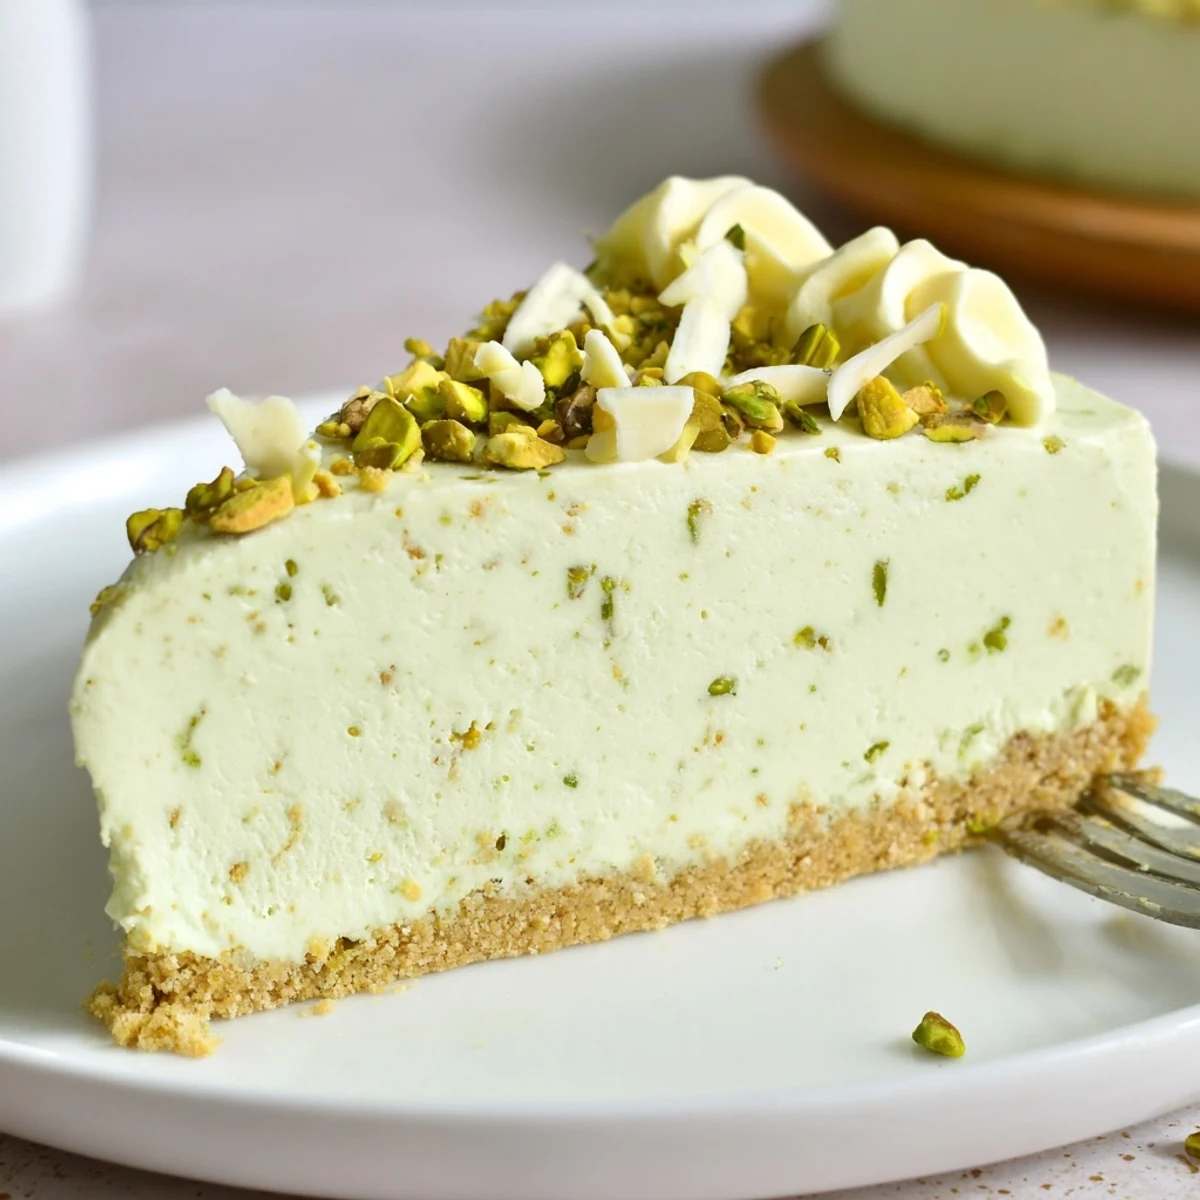
 The moment I pulled this out of the fridge for my mothers birthday, her skeptical expression shifted to pure delight at the first slice. She now asks for it every year without fail.
What to Know About Pistachio Paste
Not all pistachio paste is created equal, and I learned this the hard way after buying a bargain jar that tasted vaguely of nothing. Look for paste made with 100 percent pistachios, ideally from a specialty shop or trusted online source, because the flavor difference is staggering. Homemade paste is surprisingly achievable if you have a high speed blender and patience, roasting the nuts lightly before blending intensifies everything.
Pairing Suggestions
A glass of Moscato dasti alongside a slice of this cheesecake is one of those combinations that makes you close your eyes and smile. The gentle sweetness and light effervescence of the wine cut through the richness beautifully. A cup of strong espresso works just as well if you prefer to keep things non alcoholic.
Make Ahead and Storage
This cheesecake actually improves after a night in the fridge, which makes it the perfect dessert to prepare well in advance of your gathering. Keep it covered in the springform pan until you are ready to serve, then add toppings at the last minute for the freshest presentation.
- It stores well in the refrigerator for up to 3 days, though the crust softens slightly over time.
- Freeze individual slices wrapped tightly in plastic for up to one month for emergency dessert situations.
- Always add the pistachio topping just before serving to keep that satisfying crunch intact.
 Pin this
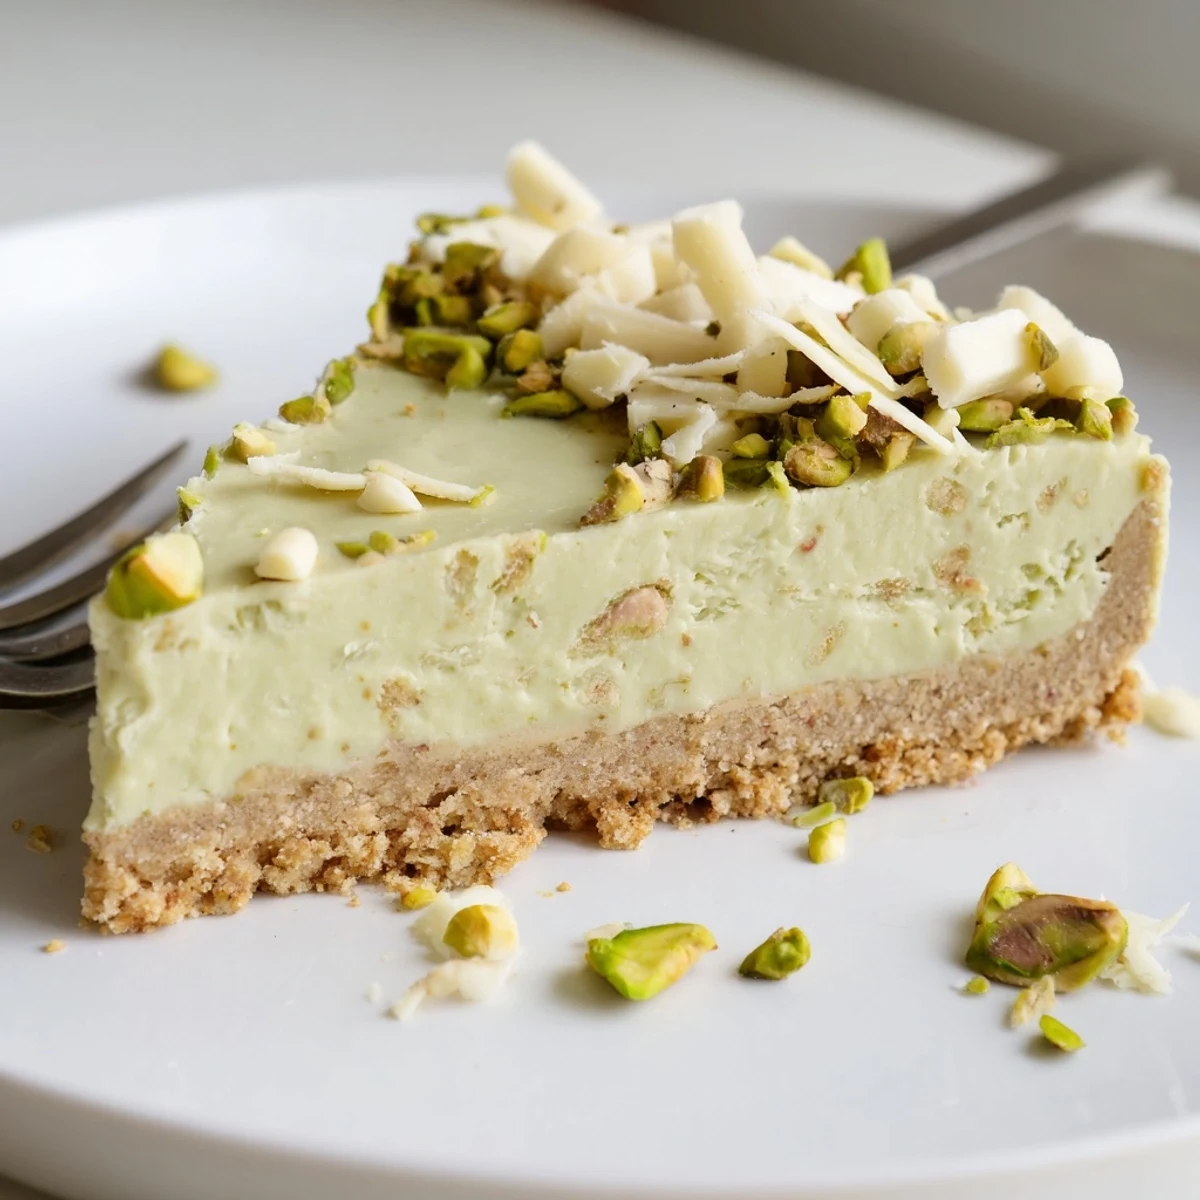
 This is the kind of dessert that makes people think you spent all day in the kitchen, and you can simply smile and let them believe it. Enjoy every green, creamy bite.
Recipe FAQs
- → Can I make this pistachio cheesecake ahead of time?
-
Yes, it actually benefits from being made in advance. You can prepare it up to two days ahead and keep it refrigerated, covered tightly with cling film. The flavors meld and the texture firms up beautifully overnight.
- → What can I substitute for pistachio paste?
-
If you cannot find pistachio paste, blend shelled unsalted pistachios into a smooth butter using a food processor. It takes about 10–15 minutes of processing. You can also mix pistachio butter with a small amount of sweetened condensed milk for a richer flavor.
- → How do I get clean slices when cutting the cheesecake?
-
Use a sharp knife dipped in hot water and wiped dry between each cut. The warmth helps glide through the creamy filling cleanly. Chilling the cheesecake overnight also ensures it's firm enough for neat portions.
- → Can I freeze this no bake cheesecake?
-
Yes, you can freeze it for up to one month. Wrap individual slices tightly in cling film, then foil. Thaw overnight in the refrigerator before serving. The texture remains creamy after proper thawing.
- → Why is my filling not setting properly?
-
The most common reason is insufficient chilling time. It needs at least four hours, but overnight is ideal. Also ensure your whipping cream reaches stiff peaks before folding it in, and avoid overmixing which can deflate the mixture and weaken the structure.
- → What size pan should I use?
-
A 20 cm (8-inch) springform pan is ideal for this quantity. Using a larger pan will result in a thinner cheesecake that sets faster but yields more servings, while a smaller one may overflow or take longer to chill through the center.