 Pin this
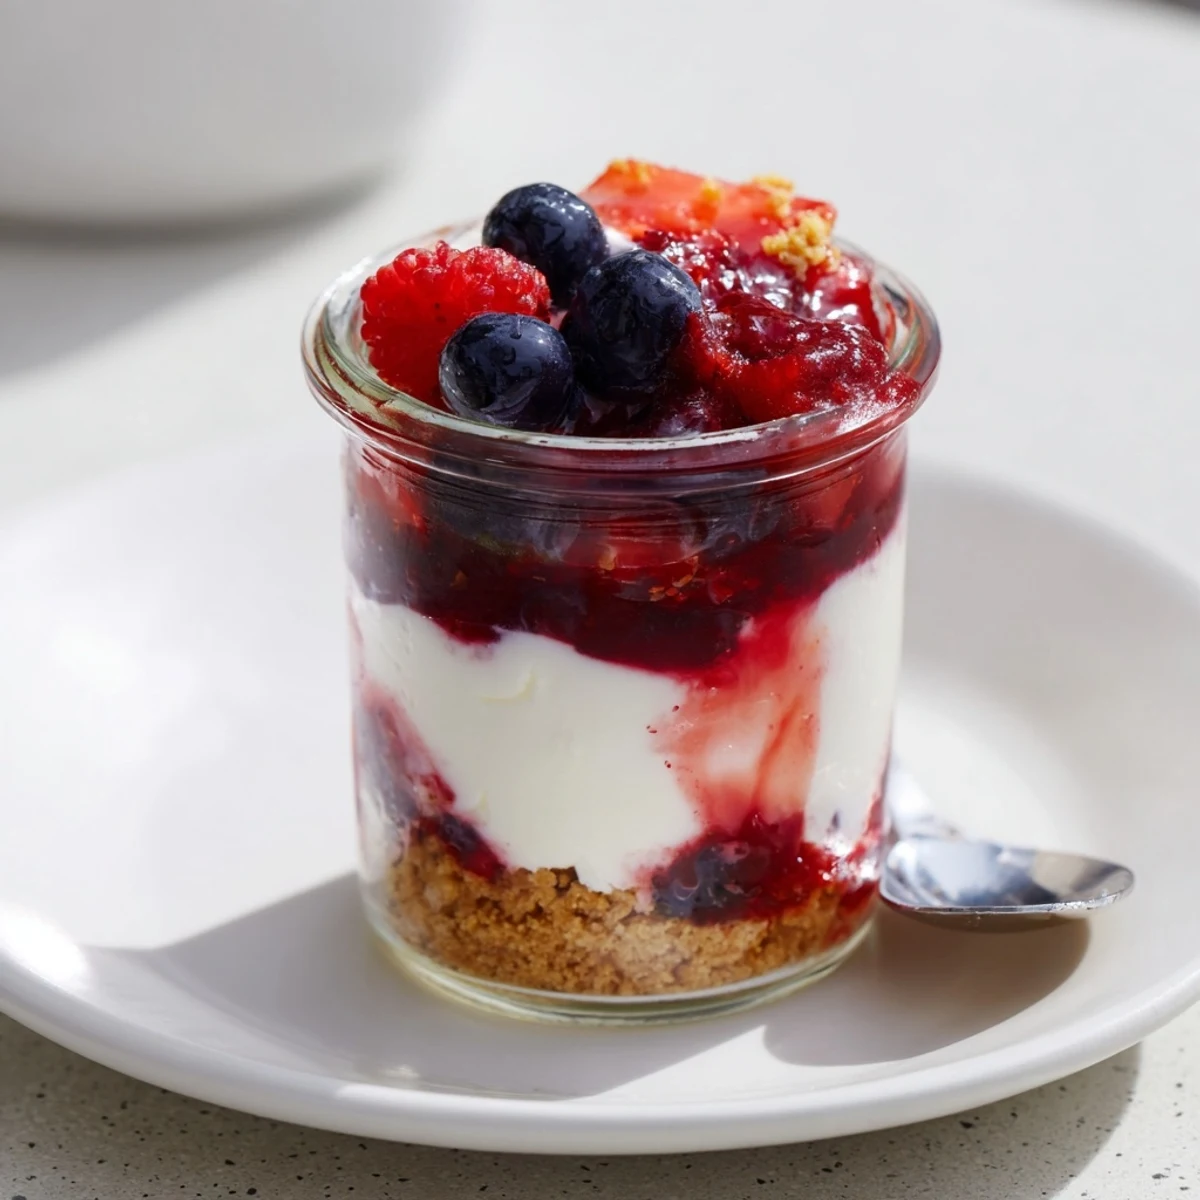
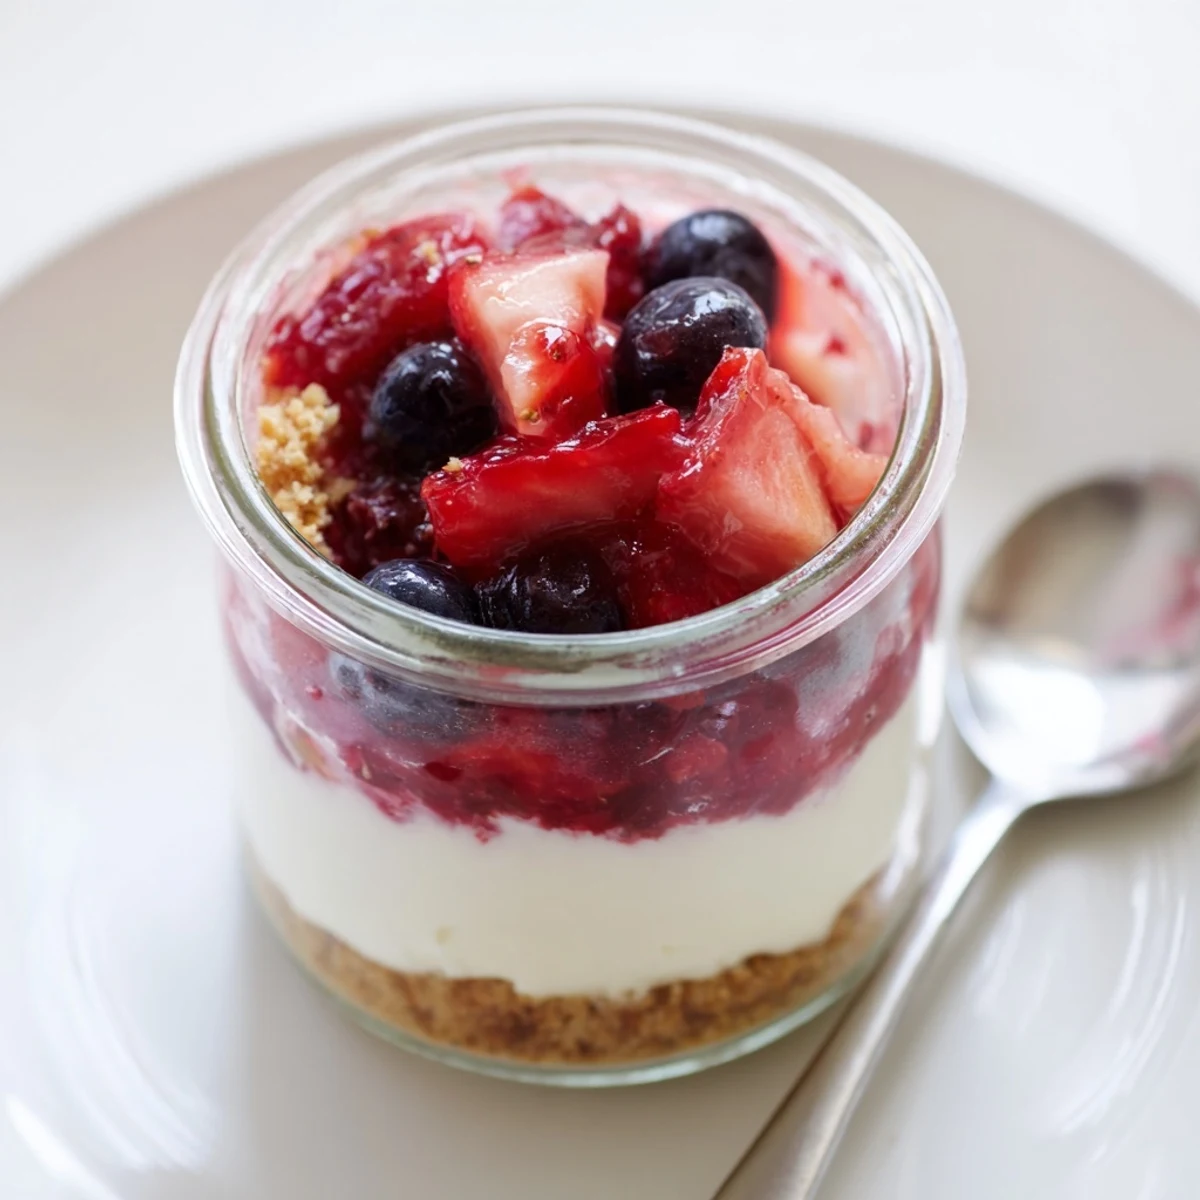
 Prepare a crunchy biscuit base by combining crushed graham or digestive biscuits with melted butter and pressing into serving glasses. Whip softened cream cheese with powdered sugar and vanilla, then fold in stiffly whipped cold cream for a light filling. Toss mixed berries with sugar and lemon to macerate, spoon over the set filling, and chill at least 3 hours. Finish with optional lemon zest or a splash of berry liqueur; serve cold.
Last summer, while a thunderstorm drummed quietly against the kitchen windows, I decided to try my hand at a chilled cheesecake that would not require the oven. The entire place filled with the creamy scent of cream cheese and zesty lemon before I even started layering the glasses. There is something satisfying about crushing biscuits by hand—therapy by way of dessert making. The colors alone promised a joyful treat before the first bite ever happened.
I first made these little cheesecakes in clear ramekins during a hasty weeknight dinner with friends when the forecast nixed our plans to grill. My friend Anna tried to sneak extra spoonfuls of the berry topping, claiming she needed to 'test for consistency.' Watching the chilled layers settle after we pulled them from the fridge, we ended up laughing more than eating, but everyone asked for the recipe anyway.
Ingredients
- Graham crackers or digestive biscuits: Choose your favorite—when really finely crushed, they create a base that holds up and adds just the right hint of toasty sweetness.
- Unsalted butter: The secret to holding the base together—letting it cool a moment before pressing gives you the best texture.
- Cream cheese: Softer is better for a perfectly smooth filling; let it sit out for a bit before starting.
- Heavy cream: Cold and whipped separately—it makes the filling light, fluffy, and helps set it without gelatin.
- Powdered sugar: It dissolves easily into the filling, giving that subtle sweet touch without any grittiness.
- Vanilla extract: Completely rounds out the cream cheese with warmth; do not skip if you love cheesecake flavor.
- Lemon zest: Optional, but it brightens up the flavors so much on hot days—add only a little for best results.
- Mixed berries: Use the freshest ones you can find; raspberries, strawberries, and blueberries all work beautifully.
- Sugar: Just enough to bring out the juices in the berries—taste and add a bit more if your berries are extra tart.
- Lemon juice: A splash to keep the berries vibrant and tangy, especially if you are using sweeter fruits.
Instructions
- Make the biscuit base:
- Grab a big bowl and mix crushed biscuits with melted butter—the sound of the crumbs soaking up the butter is as satisfying as it smells. Spoon the mixture into your glasses and lightly press it down; do not pack too tight or your forks will have trouble later.
- Whip the filling:
- In another bowl, beat the cream cheese until it is truly creamy, then blend in powdered sugar, vanilla, and lemon zest if you like a floral hint. Whip your cream cold until it stands tall, then fold gently into the cheese mixture so you keep every bit of that airiness.
- Layer the cheesecake:
- Spoon or pipe the filling over the crust layers; a piping bag (or even a zip bag with the corner snipped off) makes this neat. Smooth the tops, but do not worry too much—berries will cover it all in the end.
- Prep the berry topping:
- Toss your berries with sugar and a splash of lemon juice; within fifteen minutes they get beautifully glossy and juicy. Give them a gentle stir once or twice as they macerate.
- Final assembly and chill:
- Spoon the juicy berries on top of each cheesecake glass. Cover and chill for three hours, or overnight if you can resist, letting everything firm up perfectly.
 Pin this
 On a lazy Sunday, my little niece helped me pile berries on top of each cheesecake, grinning when the syrup ran down the sides. That sense of making dessert together and sneaking tastes as we went made the chilled glasses feel celebratory, even without any particular reason.
My Favorite Glasses for Serving
Over the years, I have assembled these cheesecakes in everything from jam jars to old tea cups. The layers look gorgeous through clear glass, and everyone gets a peek at that berry glow before the first spoonful. It makes even an ordinary dessert feel like something special.
Quick Ways to Adapt the Recipe
If you need gluten-free, swap in gluten-free cookies for the base. When summer berries are out of season, frozen ones work nicely—just thaw and drain them first. If you like a little grown-up twist, a splash of berry liqueur mixed into the topping is subtle but lively.
Troubleshooting Chilled Cheesecakes
Some days the filling can seem oddly soft, usually if I get impatient and try to chill for too short a time. If that happens, a little more chill time almost always solves it—even popping them in the freezer for a few minutes before serving works in a pinch. Do not worry if your berry topping runs, it looks rustic and joyful either way.
- Try to serve these straight out of the fridge—they hold their shape best when cold.
- A little fresh mint or extra lemon zest on top adds a beautiful finish.
- Rinse your berries gently and make sure they are well-dried before using to avoid extra runoff.
 Pin this
 Share these chilled cheesecakes soon after making them for freshest flavor. Watching everyone crack into the creamy layers topped with glossy berries never gets old.
Recipe FAQs
- → How long should these be chilled to set properly?
-
Chill for a minimum of 3 hours to allow the filling to firm up; overnight chilling gives the best texture and melds flavors.
- → Can I make the biscuit base gluten-free?
-
Yes—substitute gluten-free digestive biscuits or certified gluten-free graham crackers, and press with melted butter just the same.
- → How do I ensure a light, airy filling?
-
Beat the cream cheese until smooth, whip the heavy cream to stiff peaks separately, then gently fold the whipped cream into the cheese mixture to keep airiness.
- → What can I use if berries are out of season?
-
Use thawed frozen mixed berries, drain excess liquid, or make a quick compote on the stove with sugar and lemon to concentrate flavor before topping.
- → Can these be prepared in advance for a gathering?
-
Yes—assemble and chill overnight. Add the berry topping shortly before serving for the freshest texture and appearance.
- → Any tips for presentation and serving?
-
Serve in clear glasses to showcase layers, garnish with whole berries or lemon zest, and pair with a sparkling wine or sweet white for balance.