 Pin this
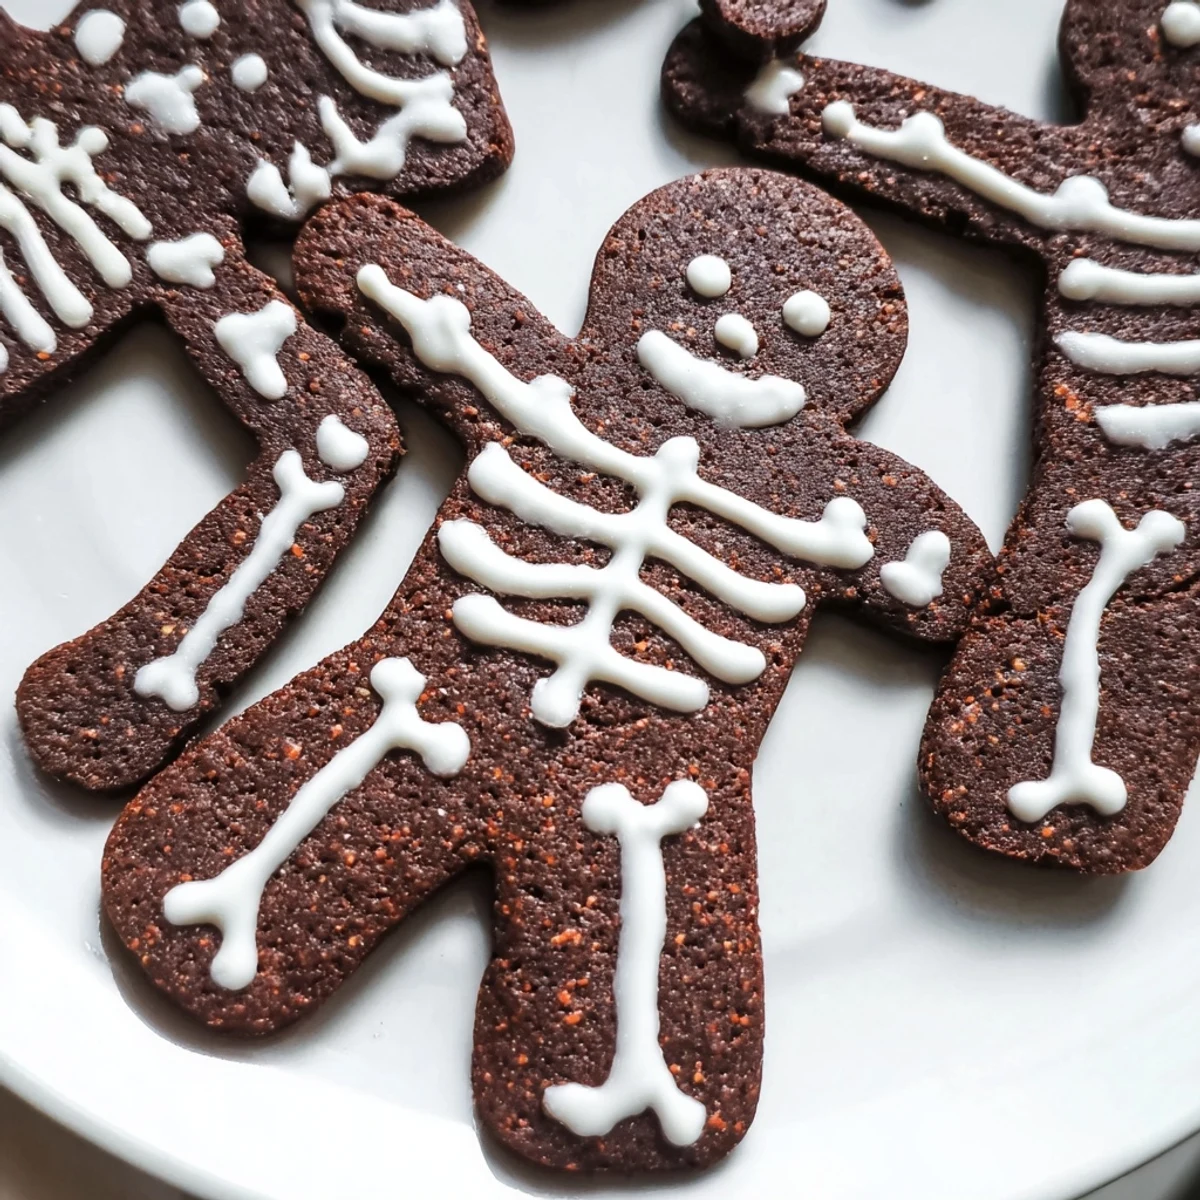
 Create these spooky chocolate cinnamon skeleton cookies with a rich cocoa base and warm spice notes. The dough comes together quickly, then chills for easy rolling and cutting into skeleton shapes. Each cookie bakes to a tender, chocolatey finish that pairs perfectly with the sweet royal icing decorations.
The combination of unsweetened cocoa powder and ground cinnamon gives these treats depth and warmth. The royal icing dries smooth and firm, making them ideal for storing, gifting, or serving at Halloween parties. With 24 cookies per batch, there's plenty for sharing.
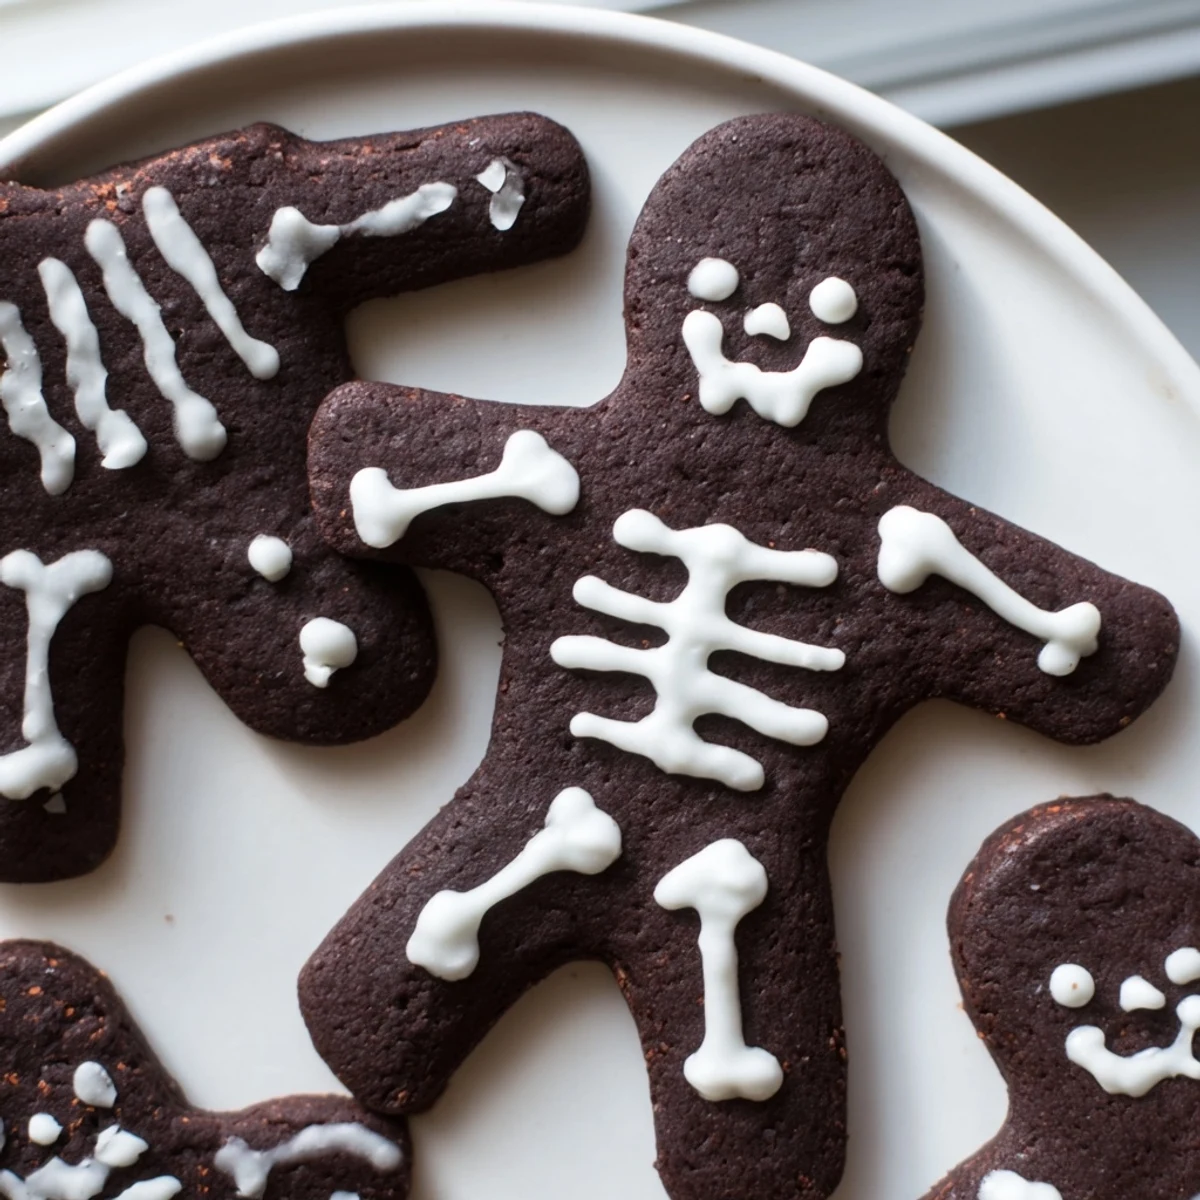
Customize your skeleton designs with piping—classic bones, rib cages, and skulls—or get creative with unique patterns. The medium difficulty level makes them accessible for home bakers while still impressive enough for special occasions.
Last October, my kitchen smelled like chocolate and spice for three straight weeks. I could not stop tweaking these skeleton cookies until the balance was exactly right. My roommate kept stealing the undecorated ones from the cooling rack, which is how I knew the base recipe was a keeper. Now they are the first thing people ask for when invitations go out for Halloween parties.
I made a batch for my niece's class party and accidentally made a skeleton with buck teeth. The kids went absolutely wild for that toothy guy. Now every batch has to include at least one goofy-grinned skeleton or the whole family feels cheated.
Ingredients
- 2 1/4 cups all-purpose flour: The foundation that holds everything together without getting tough
- 1/2 cup unsweetened cocoa powder: Use the good stuff here since it is the main flavor event
- 2 tsp ground cinnamon: Warmth that plays so nicely against the chocolate's bitterness
- 1/2 tsp baking powder: Just enough lift to keep cookies from becoming hockey pucks
- 1/2 tsp salt: Wakes up all the chocolate flavors
- 3/4 cup unsalted butter: Room temperature is non-negotiable or you will fight the dough forever
- 1 cup granulated sugar: Cream this thoroughly with the butter for that melt-in-your-mouth texture
- 1 large egg: Bind it all together and add richness
- 1 1/2 tsp vanilla extract: Pure vanilla makes a difference you can actually taste
- 2 cups powdered sugar: Sifting feels tedious but prevents lumpy icing disasters
- 1 large egg white: Creates that perfect royal icing consistency that hardens just right
- 2-3 tbsp water: Add drop by drop until you reach pipe-able thickness
Instructions
- Whisk the dry team:
- Combine flour, cocoa powder, cinnamon, baking powder, and salt in a medium bowl until everything looks evenly speckled with cocoa
- Cream butter and sugar:
- Beat them together for a full 2 minutes until the mixture looks pale and fluffy, like chocolate frosting before the cocoa goes in
- Add the egg and vanilla:
- Mix until just combined—overbeating at this stage can make cookies tough
- Bring dough together:
- Pour in dry ingredients gradually and mix only until you cannot see flour streaks anymore
- Chill out:
- Divide dough in half, press into disks, wrap in plastic, and refrigerate at least 30 minutes—this step prevents cookies from spreading into blob creatures
- Heat the oven:
- Preheat to 350°F and line your baking sheets with parchment paper now so you are not scrambling later
- Roll and cut:
- Roll dough to 1/4 inch thickness on a floured surface and cut out your skeleton shapes
- Bake to perfection:
- Bake 10-12 minutes until edges are set—these are hard to judge by color because of the cocoa, so trust the timer
- Cool completely:
- Let them rest on the baking sheet for 5 minutes before moving to a wire rack—warm cookies will melt your icing right off
- Make the royal icing:
- Beat egg white with powdered sugar and water until smooth and thick enough to hold its shape
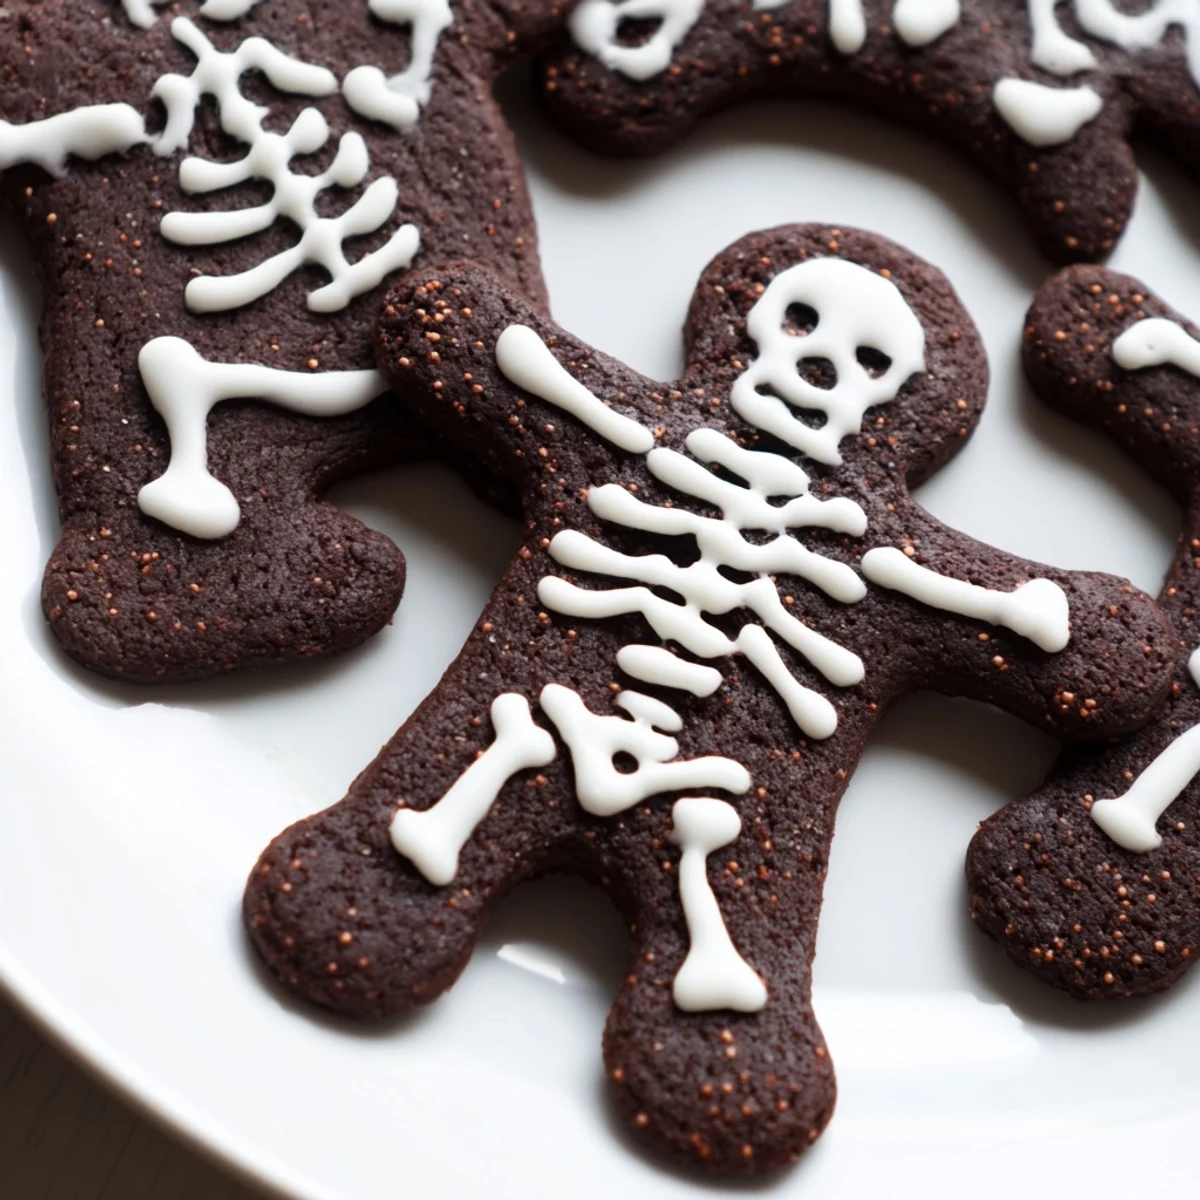
- Decorate your skeletons:
- Pipe on faces, ribs, and whatever spooky details make you happy, then let dry completely before stacking
 Pin this
 Last year I set up a decorating station at my Halloween party and people spent more time piping skeleton faces than actually eating them. Watching grown adults carefully draw tiny rib cages on cookies while wearing vampire teeth was the highlight of my entire season.
Getting the Icing Right
The royal icing needs to be thick enough to hold its shape but thin enough to flow smoothly from the bag. I test it by dragging a knife through the surface—the line should disappear in about 10 seconds. If it stays visible, add another teaspoon of water. If it disappears immediately, you need more powdered sugar.
Making Them Your Own
Sometimes I add a tiny pinch of cayenne to the dough just to give people that little what is that moment when they take a bite. You can also swap white chocolate chips for eyes if piping feels too fussy. These cookies are surprisingly forgiving for something that looks so impressive on a platter.
Storage and Make-Ahead Tips
The dough keeps in the freezer for up to three months, which has saved me more than once when I forgot I was supposed to bring treats to a party.
- Slice and bake frozen disks directly without thawing—just add 1-2 minutes to the baking time
- Store decorated cookies between layers of parchment paper so the icing does not stick together
- Undecorated cookies stay fresh in an airtight container for up to a week if you can resist eating them that long
 Pin this
 Hope these spooky little skeletons bring as much joy to your kitchen as they have to mine. Happy baking and even happier haunting.
Recipe FAQs
- → How long should I chill the cookie dough?
-
Refrigerate the dough for at least 30 minutes. This step firms the butter, making the dough easier to roll and preventing the cookies from spreading too much while baking. You can chill the dough overnight for even better results.
- → Can I freeze the dough or baked cookies?
-
Yes, both freeze well. Wrap dough disks tightly and freeze for up to 3 months. Thaw overnight in the refrigerator before rolling. Baked and decorated cookies can be frozen in layers with parchment paper for up to 2 months.
- → What's the best way to store decorated cookies?
-
Keep them in an airtight container at room temperature for up to a week. Separate layers with parchment paper to prevent the icing from sticking. Avoid storing in the refrigerator as moisture can soften the icing.
- → Can I use meringue powder instead of egg white?
-
Absolutely. Replace 1 large egg white with 2 tablespoons of meringue powder mixed with 3 tablespoons of water. This creates a stable royal icing without using raw egg whites and is safer for warm weather serving.
- → What other shapes work well with this dough?
-
Beyond skeletons, try gingerbread men, bats, ghosts, or pumpkins for Halloween. The chocolate-cinnamon flavor also works beautifully with hearts, stars, or simple circles for year-round enjoyment.
- → How can I make the icing different colors?
-
Divide the royal icing into separate bowls and add food coloring a drop at a time. Gel food coloring works best as it won't thin the icing. White icing creates classic skeleton bones, while colored icing can add fun details.