 Pin this
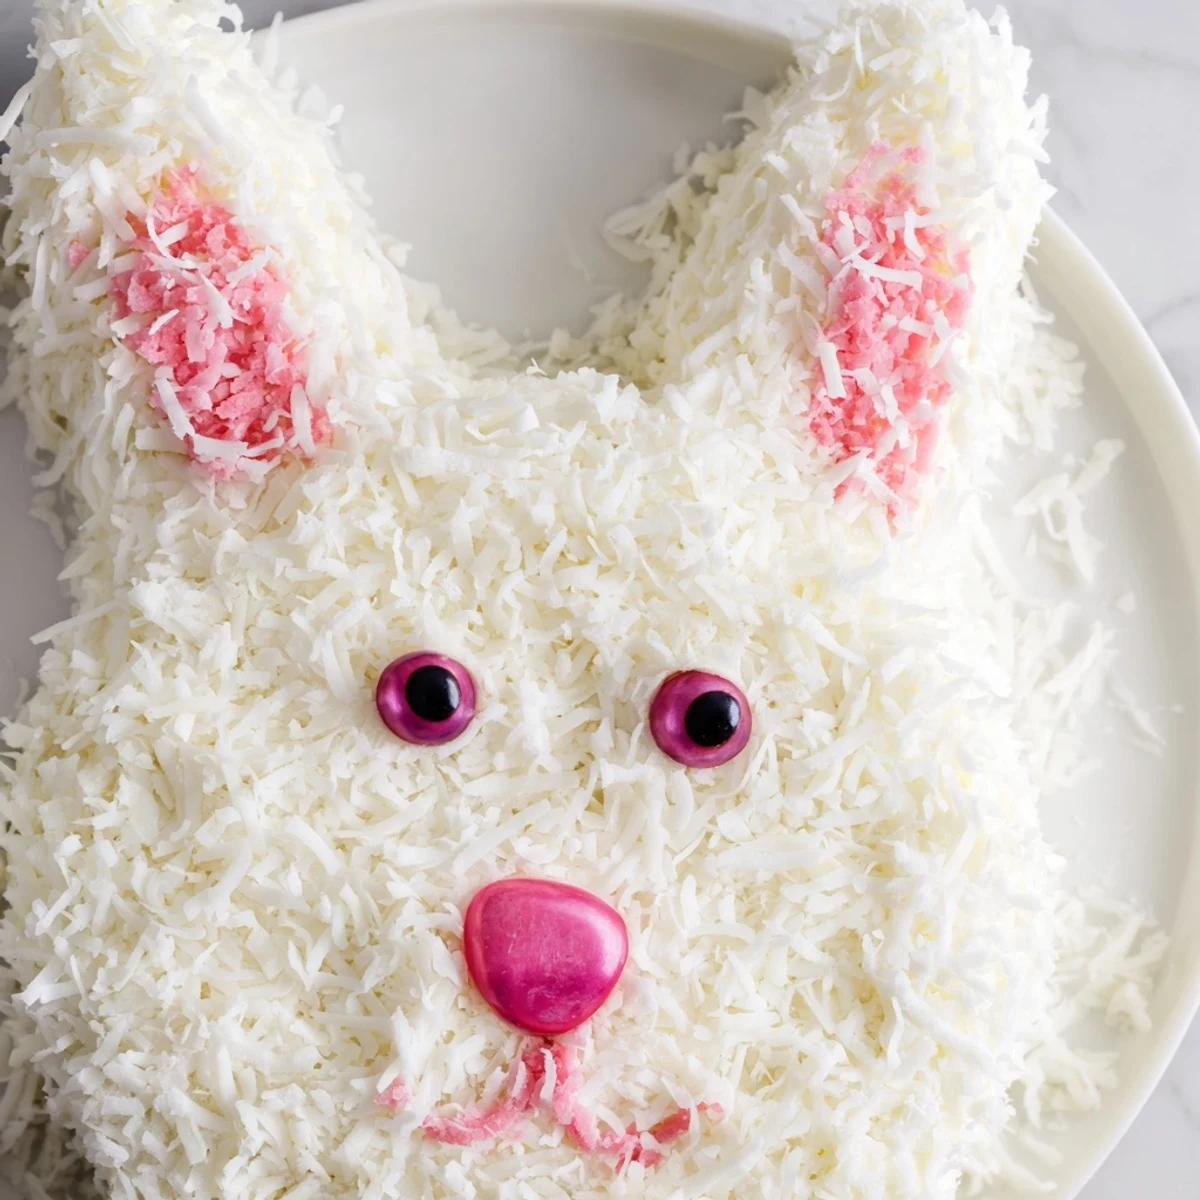
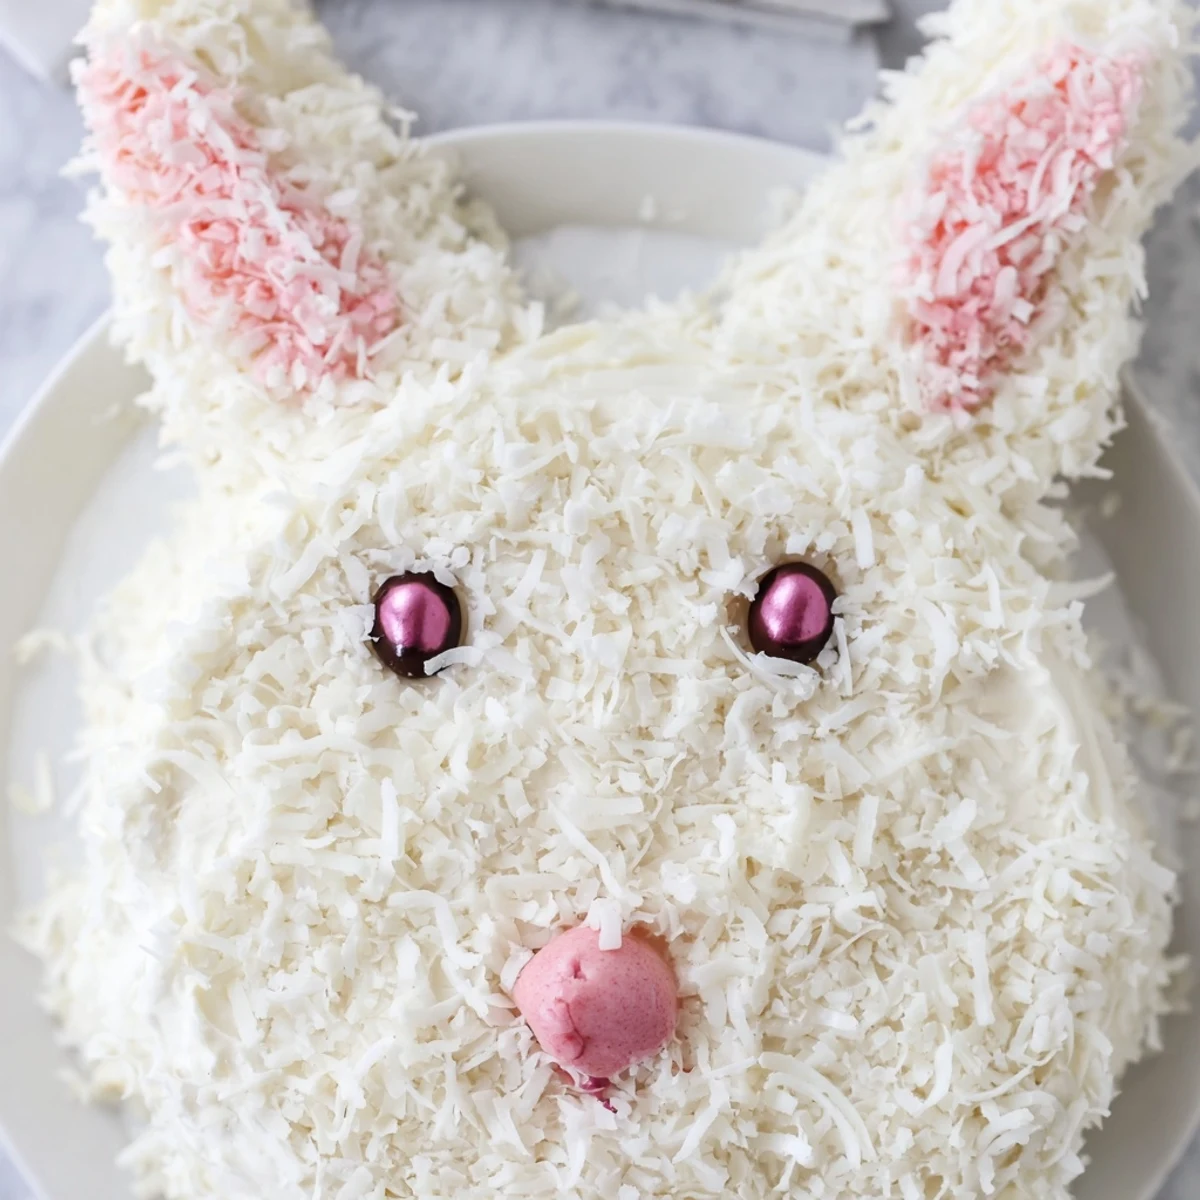
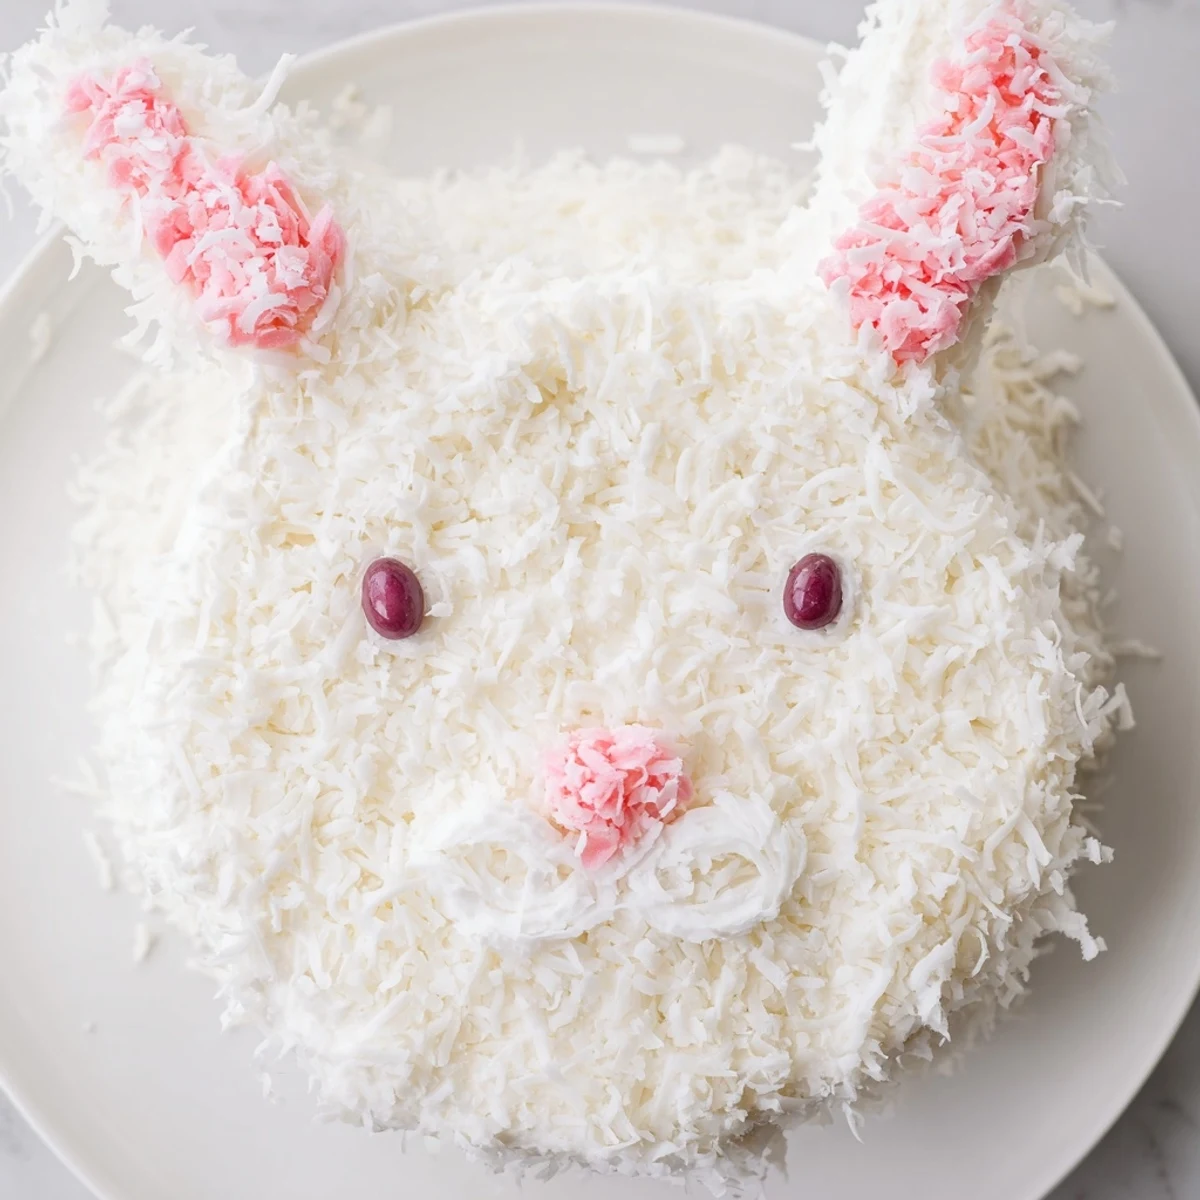
 This charming bunny-shaped dessert brings whimsy to any Easter or spring celebration. Moist vanilla cake layers are baked, cooled, then cleverly cut and arranged into an adorable bunny complete with ears and bow tie. The entire creation gets coated in silky buttercream and rolled in shredded coconut for that signature fluffy texture. Pink-tinted coconut creates delicate inner ears, while candies and fondant add the finishing touches. The process takes just over an hour from start to finish, yielding twelve servings of this festive centerpiece.
The first time I attempted a bunny cake, my kitchen looked like a coconut explosion. There was shredded sweetened coconut everywhere—in my hair, on the floor, even somehow in my apron pocket. But when my niece walked in and gasped at the finished cake, those messy floors felt completely worth it. Now it is become our Easter tradition, and I have learned to keep a vacuum nearby.
Last spring, my neighbor asked me to make a birthday cake for her daughter who loves rabbits more than anything. I spent the morning carefully arranging those ear pieces and bow tie, my hands shaking just a little. When the birthday girl saw the cake, she actually clapped her hands together and told me it was the best cake she had ever seen in her whole life. That kind of joy is exactly why I keep baking.
Ingredients
- All-purpose flour: This creates the cakes structure, and spooning and leveling it rather than scooping directly prevents dense results
- Baking powder and baking soda: Both leavening agents work together to give the cake its rise, so check that they are fresh before starting
- Salt: Just a half teaspoon enhances all the other flavors and balances the sweetness
- Granulated sugar: Creaming this with butter creates air pockets that make the cake tender
- Unsalted butter: Room temperature butter blends seamlessly into the batter and frosting
- Eggs: These provide structure and richness, so add them one at a time for proper emulsification
- Whole milk: The fat content keeps the cake moist and adds a lovely richness
- Vanilla extract: Pure vanilla makes all the difference in both cake and frosting
- Powdered sugar: Sifting first prevents lumps in your frosting
- Shredded sweetened coconut: This creates that adorable furry texture that makes the bunny come to life
- Pink food coloring: A tiny drop transforms coconut into those sweet inner ear details
- Jelly beans or mini candies: These become the eyes and nose, so choose colors that pop
- Fondant or marshmallows: Either works perfectly for adding dimension to the ears
Instructions
- Preheat your oven:
- Set it to 350°F (175°C) and generously grease and flour two 8-inch round pans, tapping out any excess flour
- Whisk the dry ingredients:
- In a medium bowl, combine the flour, baking powder, baking soda, and salt until evenly blended
- Cream butter and sugar:
- Beat the butter and granulated sugar in a large bowl until pale and fluffy, about 3 minutes
- Add eggs and vanilla:
- Beat in eggs one at a time, fully incorporating each before adding the next, then mix in the vanilla
- Combine wet and dry:
- Alternate adding the flour mixture and milk, starting and ending with flour, mixing until just combined
- Bake the cakes:
- Divide batter evenly between the pans and bake for 22 to 25 minutes until a toothpick comes out clean
- Cool completely:
- Let the cakes rest in pans for 10 minutes before turning them onto wire racks to cool entirely
- Make the frosting:
- Beat butter until smooth, then gradually add powdered sugar, vanilla, salt, and just enough milk for spreadable consistency
- Shape the bunny:
- Keep one cake whole for the face, cut the second into two ovals for ears and shape the center into a bow tie
- Arrange on the tray:
- Position the face, ears, and bow tie on a large serving platter before frosting
- Apply a crumb coat:
- Spread a thin layer of frosting over all pieces and chill for 20 minutes to lock in crumbs
- Frost and add coconut:
- Cover the cake completely with frosting and press shredded coconut gently over the entire surface
- Add pink details:
- Tint a small handful of coconut with pink food coloring and carefully press it onto the inner ear sections
- Finish with features:
- Place candies for the nose and eyes, and use fondant or marshmallows to complete the ear decoration
 Pin this
 My mom always said that food made with love tastes better, and I think she was onto something. This bunny cake has become more than just a dessert to our family—it is a symbol of spring, of new beginnings, of the joy that comes from creating something with your hands. Every year it looks a little different, but the happiness it brings stays exactly the same.
Making It Ahead
You can bake the cake layers up to two days in advance and wrap them tightly in plastic at room temperature. The frosting can also be made ahead and stored in the refrigerator, though it will need to come to room temperature and be rewhipped before spreading. Assemble and decorate the bunny the day of serving for the freshest appearance.
Decoration Ideas
Beyond the classic coconut and candy approach, try using chocolate sprinkles for a spotted bunny, or crushed vanilla wafers for a different texture. Some years I use licorice strings for whiskers and find they add such personality. You can also tint the frosting itself pastel colors instead of using coconut for a completely different look.
Serving Suggestions
This cake makes a stunning centerpiece for an Easter brunch or spring birthday celebration. I like to serve it alongside fresh fruit and maybe some sparkling lemonade for a complete spread. The cake is quite sweet, so smaller slices tend to satisfy guests, which means this recipe comfortably serves twelve people.
- Use a sharp serrated knife to cut clean slices through the coconut topping
- Leftovers keep well covered at room temperature for two days or refrigerated for four
- If refrigerating, bring slices to room temperature for 20 minutes before serving for the best texture
 Pin this
 Whatever the occasion, this bunny cake brings smiles. Happy baking, and may your spring be full of sweet moments.
Recipe FAQs
- → How far in advance can I make this bunny cake?
-
You can bake the cake layers up to 2 days ahead and store them wrapped at room temperature. The fully assembled dessert stays fresh covered at room temperature for 2 days or refrigerated for up to 4 days. Add the coconut and final decorations within 24 hours of serving for the best texture.
- → What's the best way to cut the bunny shape?
-
Keep one round cake whole for the face. Cut the second round in half lengthwise to create two oval ears. The remaining curved center section becomes the bow tie. Arrange all pieces on your serving tray before frosting to ensure proper placement.
- → Can I use different cake flavors?
-
Absolutely. Chocolate, lemon, or strawberry cake work wonderfully. The coconut pairs especially nicely with lemon. Just ensure your chosen flavor has similar baking times and temperatures to the vanilla base.
- → What if I don't like coconut?
-
Sprinkle the frosted cake with white nonpareils, edible glitter, or piped buttercream fur instead. You could also cover with rolled white fondant for a smooth finish or use crushed vanilla wafers for a different textured effect.
- → Is this suitable for beginners?
-
Yes, this project uses basic baking techniques and simple decorating methods. The shaping requires just a few straight cuts. Take your time with the crumb coat and chilling step for the smoothest finish before adding the final layer of frosting and coconut.
- → Can I freeze the baked cake layers?
-
Cool the baked layers completely, wrap tightly in plastic then foil, and freeze for up to 3 months. Thaw overnight at room temperature before carving and decorating. Frozen layers are actually easier to cut into shapes if slightly firm.